


If you’ve just gotten into mountain biking, congratulations! You’re embarking on a journey into a sport that has captivated millions since its beginnings in the 80's and 90's. We here at ROKFORM know just how easy it is to get hooked after you experience your first thrilling trail ride. There's a good chance that you're already looking to hit your next one!
What you may not realize yet is just how easily your ride can get derailed by something going wrong with your bike. Whether you crashed or just rolled over the wrong rock, a flat tire or faulty braking can signal the end of your trip if you’re not prepared. Mountain biking is one of the forms of riding that has the hardest impact on your bike, and you could be walking back to the trailhead if you don't have the necessary tools and knowledge to take proper care of your bike. In this article, we'll take a closer look at some basic mountain bike maintenance tips to make sure you can always make it home!
Essential Supplies for Every Trail Ride
Before you commit yourself to a day-long trail ride, it's important to know that you're covered in the case of an emergency. It's a good idea to have basic tools on hand for when something goes wrong, and the spare components to swap out if one is busted beyond repair. The following is a quick list of supplies that will help you do the regular maintenance that pops up on the trail:
- Multi-tool with allen wrenches and a Phillips-head screwdriver
- Chain lube and a clean rag
- Patch kit with patches, glue, and sandpaper
- Spare inner tubes, unless you're running tubeless tires
- Tire levers
- Hand pump or CO2 carts (if CO2 carts, also a hammer for attaching them)
- Pliers
This list is non-exhaustive, but will give you a pretty good shot at being able to fix whatever comes up on your ride. If you run into more severe issues than what's listed on this article, it's probably best to just walk your bike back and take it to your local bike shop. In time you'll learn more advanced maintenance techniques and be able to fix anything and everything that comes up on your ride.
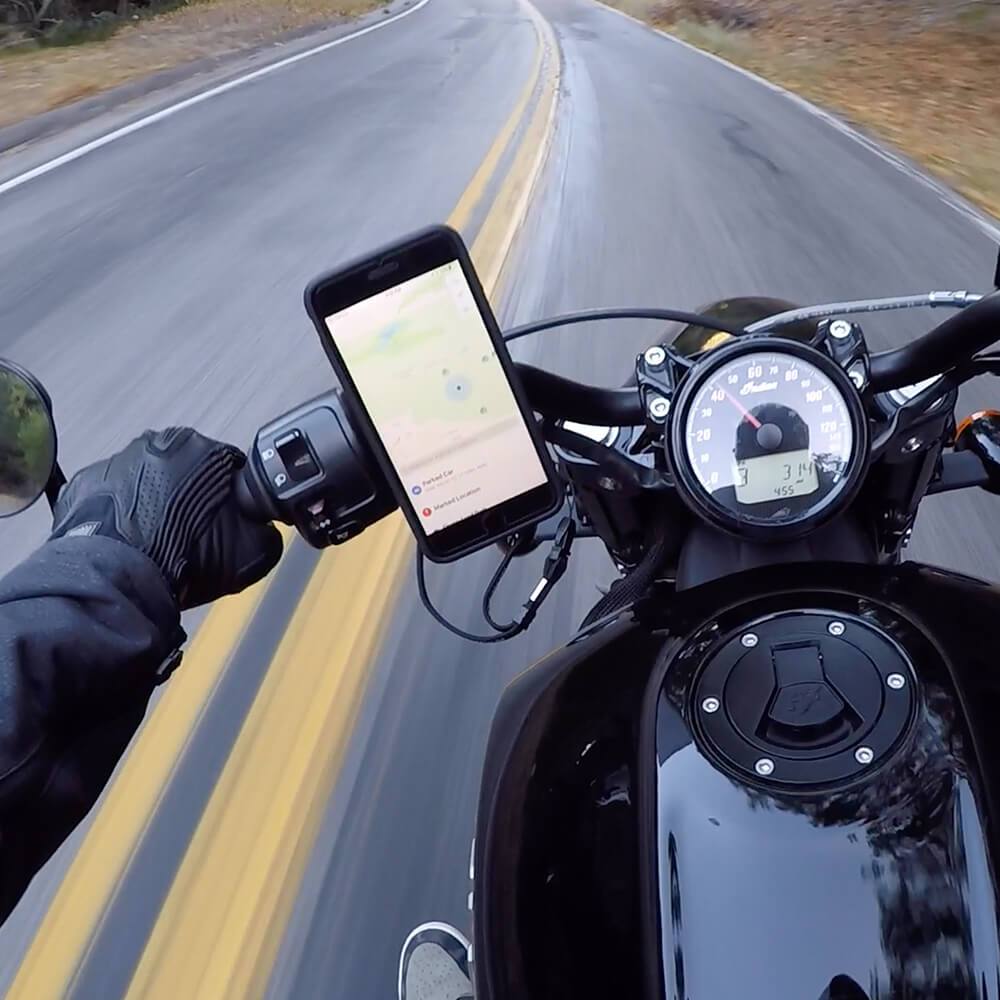
One of the biggest learning curves, when you’re getting into mountain biking, is properly keeping track of your route on complex and fast-paced trails. One of the best parts of mountain biking is the sense of momentum you get when you're able to let go of directions anxiety and embrace the thrill of the ride. It can be frustrating to keep pulling over to get your phone or map out to find your way again. The best way to make sure you never get lost again is to invest in a bike phone mount that will keep you in the know while keeping your phone secure.
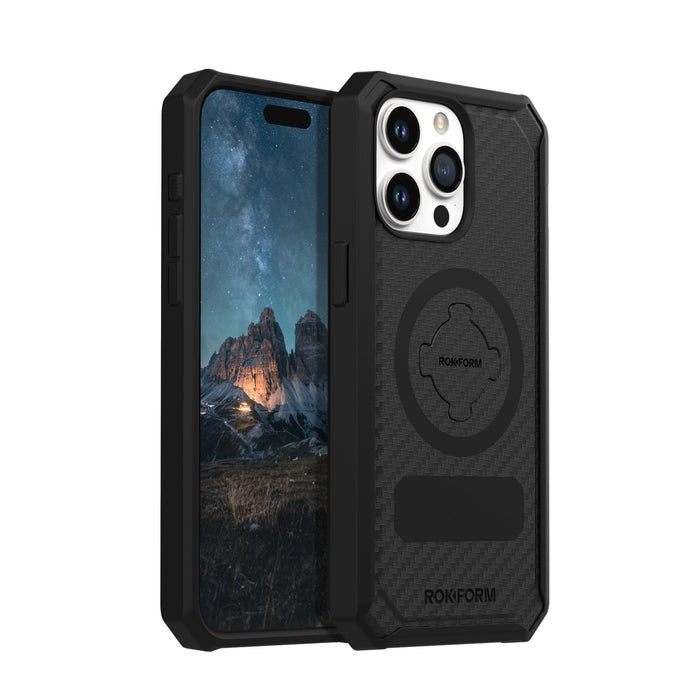
ROKFORM's Sport Series Mount is the perfect balance of security and minimal design, keeping your handlebars uncrowded while keeping your phone safe and at the ready. With ROKFORM's twist-lock technology and the unbeatable protection of our Rugged iPhone cases, you can keep yourself on track while feeling confident that your phone will be safe, even if you wipe out. Thousands of mountain bikers use ROKFORM's bike phone mounts to stay connected while they ride- invest in an easy way to stay in the loop and join the community of riders who are getting after it with confidence.

Mountain Bike Maintenance 101: Clean and Tune
If you're just starting your mountain biking journey, it's important to know that jumps, rocky terrain, and the grime of the outdoors can all take a toll on your bike and lead to more issues while you're out riding. Trailside mountain bike maintenance is a real hassle, and a lot of that can be avoided if you do the proper preventative maintenance beforehand in a controlled environment. Giving all the parts of your bike a once-over for cleanliness and function before or after any trail ride is a best practice that will serve you well in your mountain biking adventures.
Basic Cleaning
Using some warm soapy water and a rag, you can clean most of the parts of the main bike frame, handlebars, and wheels. The underside of your bike and the wheels will build up dirt quickly if you leave it for multiple rides, so it’s best to do this after every ride. Don't use this on your brakes, or the drivetrain if you don't plan to lubricate it after. Rinse with another round of clean water and dry where you can. There’s no need to get every speck of dirt off, but keeping your bike generally clean will make sure that dirt buildup doesn’t start creating performance issues over time.
Drivetrain Cleaning and Lubrication
Disc Brake Cleaning
If you have disc brakes, you should be careful to not create the conditions for rust on your rotors. Instead of cleaning them with soap and water, use an isopropyl alcohol spray and gently clean with a rag. Take care not to handle the rotors too roughly, or they could bend. If you’re also lubricating your drivetrain, make sure that no lubricant splashes onto your brake systems! If it does, thoroughly clean it, or take it to a bike shop to evaluate whether it’s safe to ride. Your brakes need grip- oil is the enemy!

Find a regular interval that you can dedicate to mountain bike maintenance. It can be a bit of a chore, but the long-term difference that keeping your bike clean and ready to ride makes will be worth it, in terms of hassle and money. An ounce of prevention is worth a pound of cure!

Flat Tire Repair and Tube Replacement
By far the most common problem you'll run into when you're riding on the trail is getting a flat tire. Whether you run over a sharp rock or get a pinch flat from running a low tire pressure, it's inevitable that you'll have to do a trailside fix at some point. If you're running a tubeless setup, it's possible that you'll be saved by the tire sealant that, in theory, seals whatever puncture in your tire that you picked up. If not though, you'll be walking back.
If you've got a hole in your inner tube, you'll need to patch it or replace the inner tube altogether. Remember: always check your tire to see if the object that caused the flat is still stuck in your tire, or if your tire has been significantly damaged by the puncture. If it has, you may need new tires before it's safe to ride again.
Follow these steps to get your wheel rolling again! If it's not making sense to you after reading, YouTube is very much your friend in learning basic repair skills like this and basic mountain bike maintenance tips:
Replacing an Inner Tube
-
Detach the wheel from the bike- If you have a quick release axle, pull the lever and spin to loosen it until it comes out. If you have a thru-axle, use your hex wrench to unscrew the axle and remove it from the dropouts. If you have rim brakes, you’ll need to open them up in order to let the wheel fall out. If it's your rear wheel, move the derailleur out of the way by pushing the bottom part towards the bottom bracket and the central part away from the bottom bracket. Remove the wheel from the dropouts and gently place the bike down.
-
Deflate the tire if it’s not completely flat.
-
Remove the tire from the wheel by compressing the edges of the tire and lifting them off the rim of the tire, or use a couple tire levers to reach under the tire and unseat a small portion of it from the rim. Once you’ve got a small section of the tire unseated, you can run the tire lever underneath the tire to sequentially unseat the tire until it slips off the rim completely.
-
Remove the punctured tube from the tire.
-
Grab the replacement tube and insert it in the tire, making sure not to twist any portion of it as you insert it. The valve of the inner tube should face towards the inside of the ring.
-
Line up the inner tube valve with the opening on the rim, and push the valve through the opening.
-
Reattach the tire onto the wheel by lifting the edges of the tire onto the rim of the wheel, sequentially moving each section of the tire on until it’s fully seated on the rim. Seat one side of the tire wall at a time. You can use your tire lever to push the unseated tire edge up and over the lip of the rim to make it easier.
- Inflate the tire using CO2 cartridges or your hand pump. You're ready to get back on the trail!
As with all new mountain bike maintenance skills, it's best to practice them a few times before you really need them. With something like replacing an inner tube, you can go through the motions of "replacing" an inner tube using the functional one that's currently on your wheel. This is a skill that will serve you well no matter what style of riding you do- make sure you have these supplies and know-how whenever you set out on a ride.

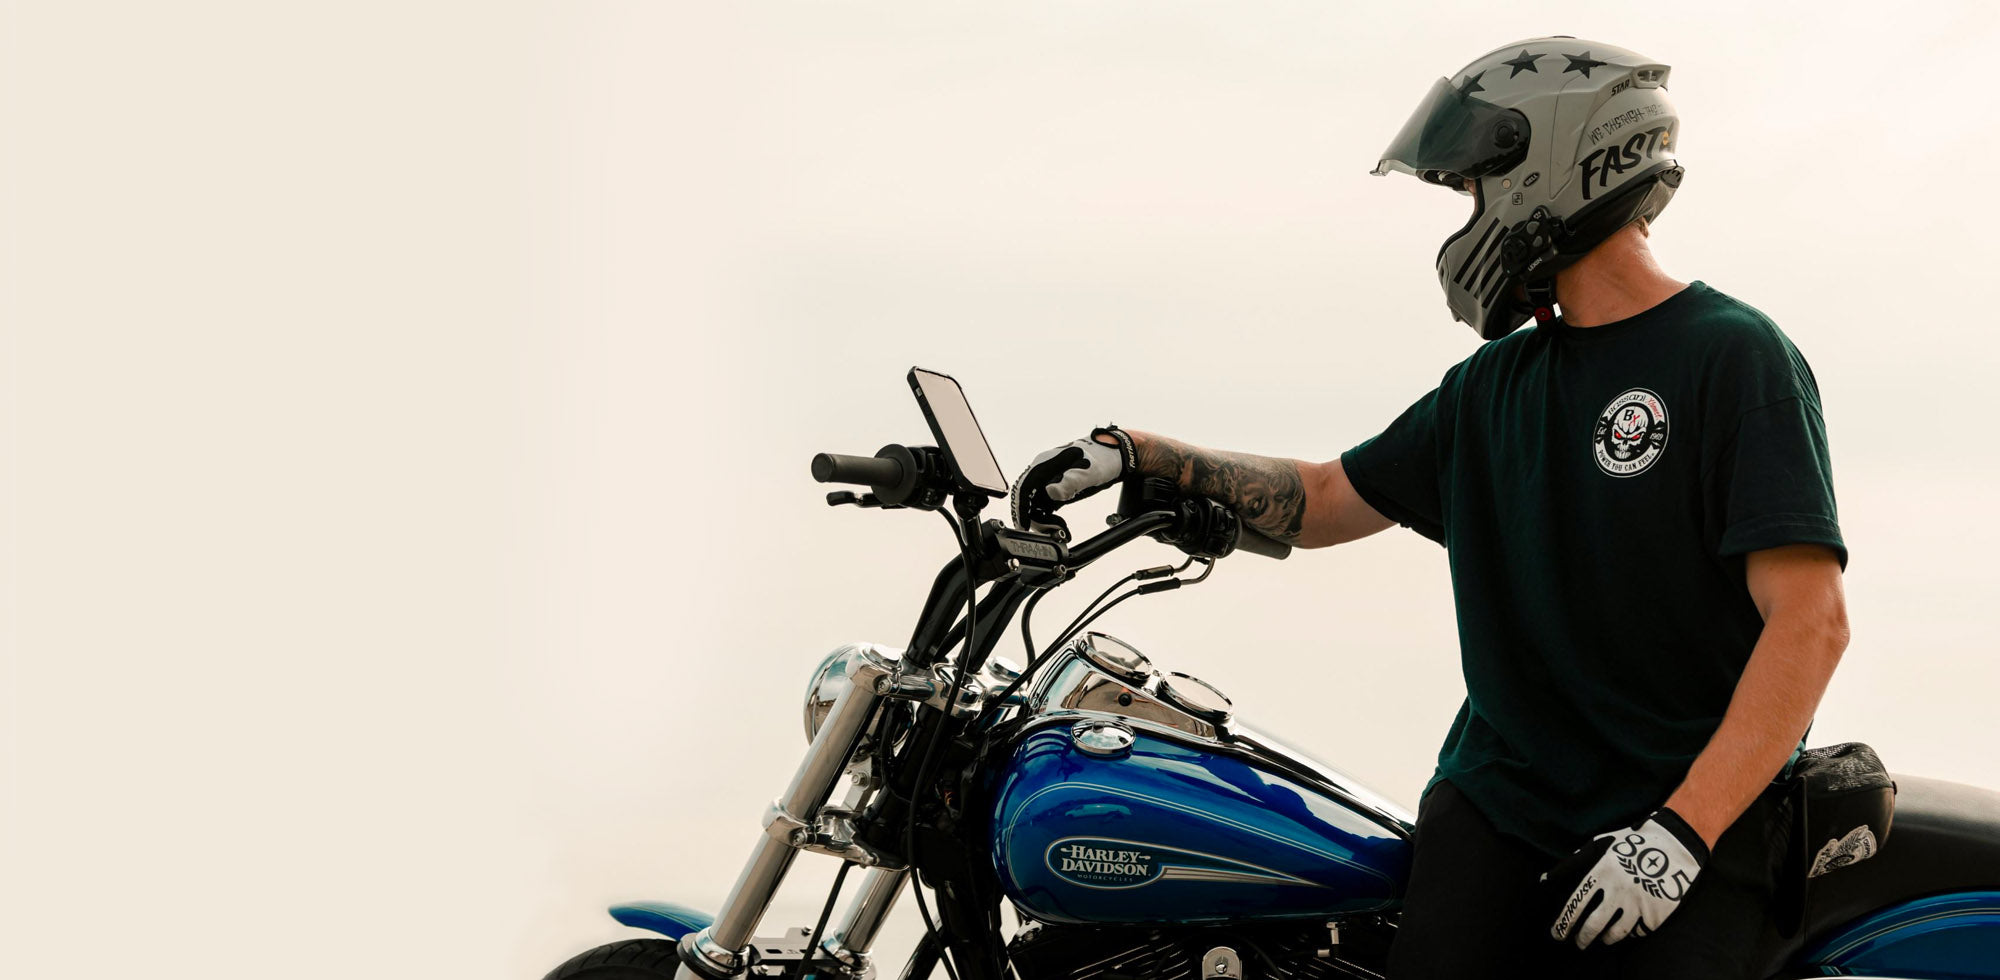
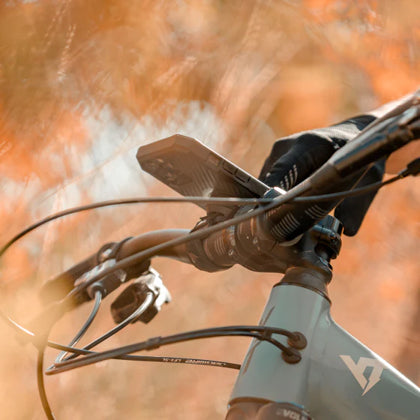
It’s a necessary evil to stop when you need to do an emergency flat fix, but stopping every time you want to pull your phone out of your bag can be a real drag on your riding experience. When you spot the picture-perfect view or need to figure out where you’re heading, you need a way to get rolling as quickly as possible.
The ROKFORM V4 Pro Series Bike Phone Mount lets you secure your phone where you can always access it, with the confidence that it’ll stay secure under the toughest conditions. The Dual-Retention locking system provides exceptional protection from your phone falling off, while the aircraft-grade aluminum stand holds strong against sudden impacts or falls. Never miss that photo op- keep your phone where you need it.
Patching a Punctured Inner Tube
A patch kit is a great way to add some extra insurance to your essential repair kit. While you should still have an extra inner tube, it's entirely possible that you'll run into two flat tires in a full day's riding. A patch is a temporary measure that will help you keep air in your tires long enough to get back to the trailhead and do a more complete repair. While it may hold for a decently long time, it's always best to retire a patched inner tube during mountain bike maintenance after that ride as a general rule. That said, a quick patch on a punctured tube can have you rolling again quickly and easily!
-
Follow steps 1-4 on the "Replacing an Inner Tube" guide
-
Locate the puncture on the inner tube
-
Using the included sandpaper in your patch kit, sand the area around the puncture to increase the adhesion of the patch. Make sure you sand enough area to completely cover the area of the patch.
-
Using the glue in your patch kit, put a ring of glue around the outside area of the inner tube where you'll be placing the patch. You want enough glue to ensure a proper stick, but not so much that it rushes out on all sides when you press the patch into it.
-
Grab your patch, and remove it from the backing. Lay the inner tube flat and firmly press the patch onto the tube, making sure to get a firm seal on the full circumference of the patch.
-
Hold the patch in place for a minute to allow the glue to dry.
- Continue with the "replacing an inner tube guide" and re-inflate, checking that the patch isn't leaking air.
Patches are a lifesaver when you need them, so it's worth carrying a patch kit even if you have a spare inner tube. Between these two methods of fixing a flat tire, you should always be able to get moving again after a flat.

Brake Adjustments
When you're rolling on a crazy downhill trail, there's one very important system that is keeping you safe- your brakes. Stopping is, of course, an essential function of your bike that should always be in good working condition. If you can’t engage them fully or feel like they immediately clamp down as soon as you apply any pressure to the brake levers, you should take a look at two common brake issue fixes before you take it into the shop for mountain bike maintenance.
This article assumes your bike has mechanical disc brakes, which is common on mountain bikes, but you should take the time to understand what brake system you're working with and how to make adjustments to them.
Mechanical brakes are able to be adjusted at two points: the end of the cable that threads into the brake caliper, and the barrel adjusters at the brake lever. If you are only looking to make a slight adjustment to your brakes, start with the barrel adjuster. The barrel adjuster is a screw that effectively shortens or lengthens the brake cable slightly by changing the tension at the brake caliper. The best part of this is that it requires no tools at all, and you can fine-tune it to your personal preference.
Warning- DO NOT attempt this if you have hydraulic brakes. While it looks very similar, the adjuster next to a hydraulic brake level keeps the fluid inside the brake line. All you'll accomplish by unscrewing that is making a mess!
To determine what adjustment you're looking for, pull on the brakes. If you're unable to move the brake lever much at all, the cable tension is too high and needs to be loosened. If you can pull your levers all the way to the handlebar, your cable tension is too low, and you need to tighten it.
- Locate the barrel adjuster- it will be located just on the inside of your brake levers, where the brake cable feeds in. The barrel itself will look slightly larger than the rest of the cable housing, and have a notched ring next to it- that's your lock ring. These two pieces generally move together, but you'll need to tighten in your lock ring every time you're done adjusting.
- To increase the tension on your brake cable, unscrew the barrel adjuster, moving it away from your brake lever until your brake lever can come to a full stop without hitting your grips. Make sure not to unscrew it completely- if you're able to jiggle the barrel adjuster and it moves significantly, carefully thread it back in while ensuring not to bend the brake cable. When you find your desired tension, make sure to tighten the lock ring all the way up to the beginning of the brake lever so that the cable stays in place.
- To decrease the tension, tighten the barrel adjuster towards the brake lever. The brake lever should be able to pull more towards the handlebar, and the brake pads shouldn't rub the brake rotors as you ride. If it's not clear, take a slow test ride, try a few stops, and listen for any metal-on-metal sounds near your brakes.

If you're not able to get the adjustments that you're looking for using this method, you can try tightening or loosening the brake cable at the caliper. Before you do this, make sure that the barrel adjuster is fully loosened (adjusted towards your brake lever) so that you have the maximum slack to work with.
- Locate the point where the brake cable is screwed into the brake caliper. The brake line will be held by an Allen screw, with a short amount of cable left on the other end of the screw.
- Using some pliers, hold the protruding end of the brake cable firmly and keep it under tension as you unscrew the Allen screw to release the brake cable from the caliper.
- If you're looking for tighter braking, pull the cable gently to create more tension in the cable. If you want to slacken it, release some tension to create more give in the brake cable. You can generally tell where you started from, as the Allen screw will have flattened the brake cable at the point where it was trapped.
- Tighten the Allen screw so that it securely holds the brake cable, then try pulling on your brake lever again. Repeat as necessary to get the desired amount of tension. If you only want to make a minor adjustment, go back to the barrel adjuster and do it from there.
If you're not getting the results you want, it's best to take it to your local bike shop and let them figure it out. However, these techniques will give you the expertise that you need to fix your brakes on the fly and get off the trail safely. The same techniques also hold true for many derailleur systems, and you can play with the barrel adjusters next to your bike's shifters to account for chain wear and tighten up slow shifting, or adjust the front or rear derailleur cable at the insertion into the derailleur itself.
It's always good to stop when you're having technical issues, but killing the momentum of your ride just to check the trail map can put a real damper on your ride. If you want to be in the moment and never miss a turn, you need to have the information at your fingertips at every moment. With the unparalleled security of the ROKFORM V4 Pro Series Bike Phone Mount, you can confidently leave your phone on your handlebars and always have your map as you ride.
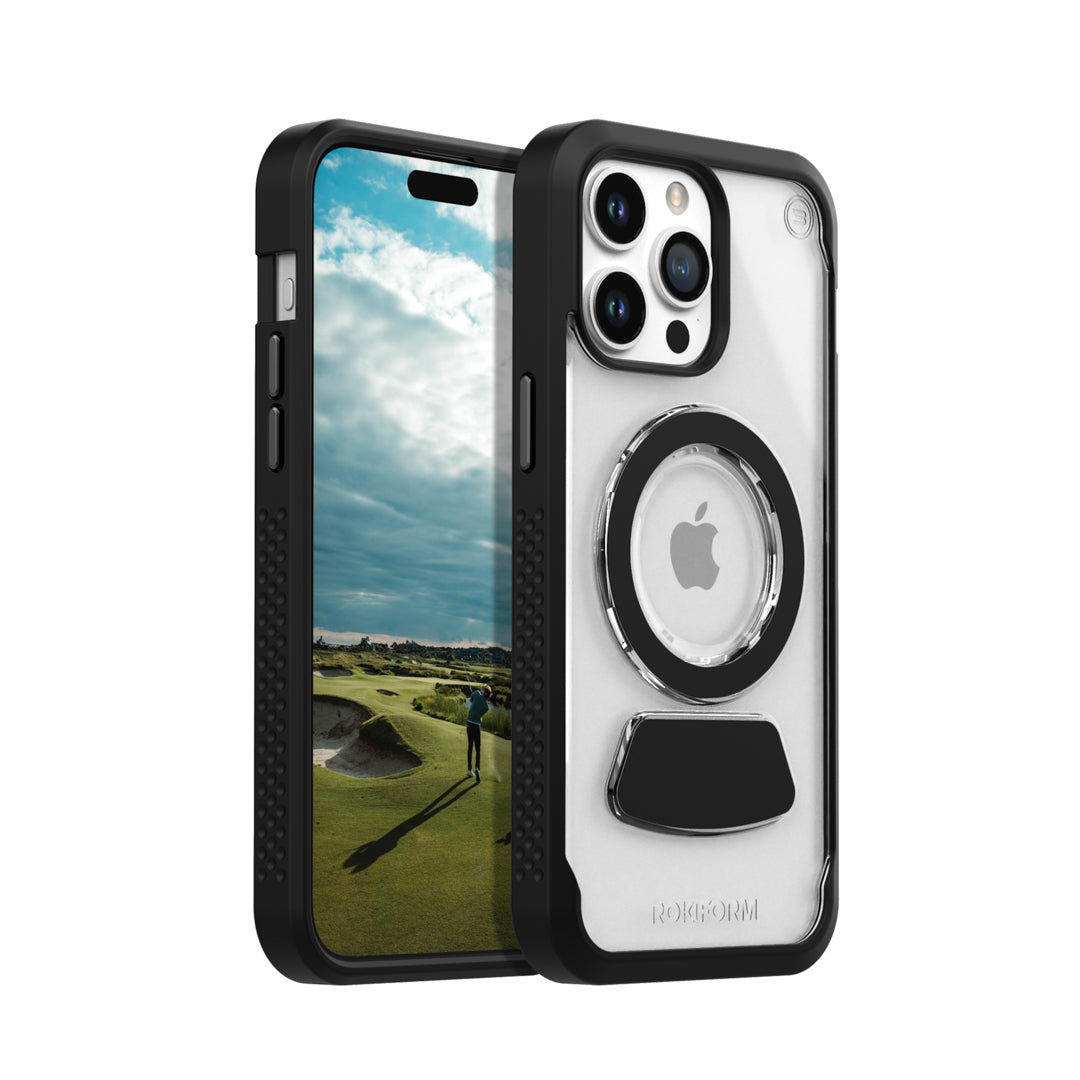
The V4 Pro Series Mount threads directly into the handlebar stem of your bike, meaning you never have to worry about it coming off. Find yourself going over the handlebars on a rough landing? Your phone will be safe thanks to the incredible protection of the Rugged Phone Cases that are compatible with all of our bike phone mounts. With over 15,000 survival stories from riders just like you, the Rugged iPhone Case has proven itself to offer exceptional protection in even the wildest of crashes. Stop taking yourself out of the moment figuring out where you took that wrong turn- keep yourself in the know and protect your phone with ROKFORM's phone mounts and cases.
“I keep looking for something else that I feel as confident with and haven’t found it! You have a great product and I am a customer for life.”

Frequently Asked Questions
How can I learn more about mountain bike maintenance?
If you're looking to improve your mountain bike maintenance skills, there's no substitute for doing. It can be scary when you're starting out, but getting your hands dirty and solving problems as they come up will always teach you something new about keeping your bike in working order. If you're not looking to experiment on the bike you use for your commute, it can be worth it to buy an old fixer-upper to restore or try to build from the frame up. If you perform better with some structured guidance, there are bike mechanic schools and training programs like United Bicycle Institute or Bike Teacher that will show you everything you need to know about mountain bike maintenance.
How often do I need to replace parts on my bike?
The different components on your bike will need to be replaced at different rates, but you can generally tell how long it will take by how much contact or movement the component does on every ride. Components like your chain or brake pads will need replacing every few thousand miles, as they're constantly being stretched or worn by the force of your pedaling and braking. More central components like your brake rotors or cassette will last longer, and will show obvious signs of wear like pitting in the rotor or a wearing down of the gear teeth. If you find yourself experiencing performance issues on the same part of your bike multiple times, it may be time to replace a component in that system.
Do I need a mechanic to take care of my bike, or can I take care of it all on my own?
Unless you have significant experience with mountain bike maintenance and mechanics under your belt, it's vital that you get a second set of eyes on your bike before something fails on you. If you're diligent about not ignoring strange noises or small impediments in your bike's function, you can use basic mountain bike maintenance skills to stretch the service interval to about once a year. Past that, you should get an experienced mechanic to make sure there's nothing concerning that would otherwise fly under the radar. Once you feel like you've reached a place of mastery in fixing the small things, you can experiment with larger projects and get to a point where you do all your mountain bike maintenance yourself.
ROKFORM- Ready to Support Your Mountain Biking Journey!
The fact that you're reading this article is already a good sign of your future success as a mountain biker. By caring about the condition of your bike, you'll save time, hassle, and money. Having the right tools and a few basics under your belt will serve you well in your budding new hobby.
When you're just beginning as a mountain biker, momentum is important. Whether that's scheduling out your next group ride or learning how to take trails at higher speeds, stopping the momentum will make it harder to truly appreciate this amazing sport. ROKFORM's bike phone mounts take the friction out of staying connected and help you keep the momentum going. You're going to be hitting the trail for years to come- buy a phone mount and case that will keep up on every single ride.
Want to see how well a ROKFORM bike phone mount holds up to the toughest trail riding out there? Check out our session with mountain biking legend Dave Cullinan, and hear his thoughts on our mounts!
Have questions about our products or which case is right for your smartphone? We are available for online chat or in-person at our Irvine, California showroom. Call us toll-free at 855-765-3676, or email us at info@rokform.com, or visit us at www.rokform.com