

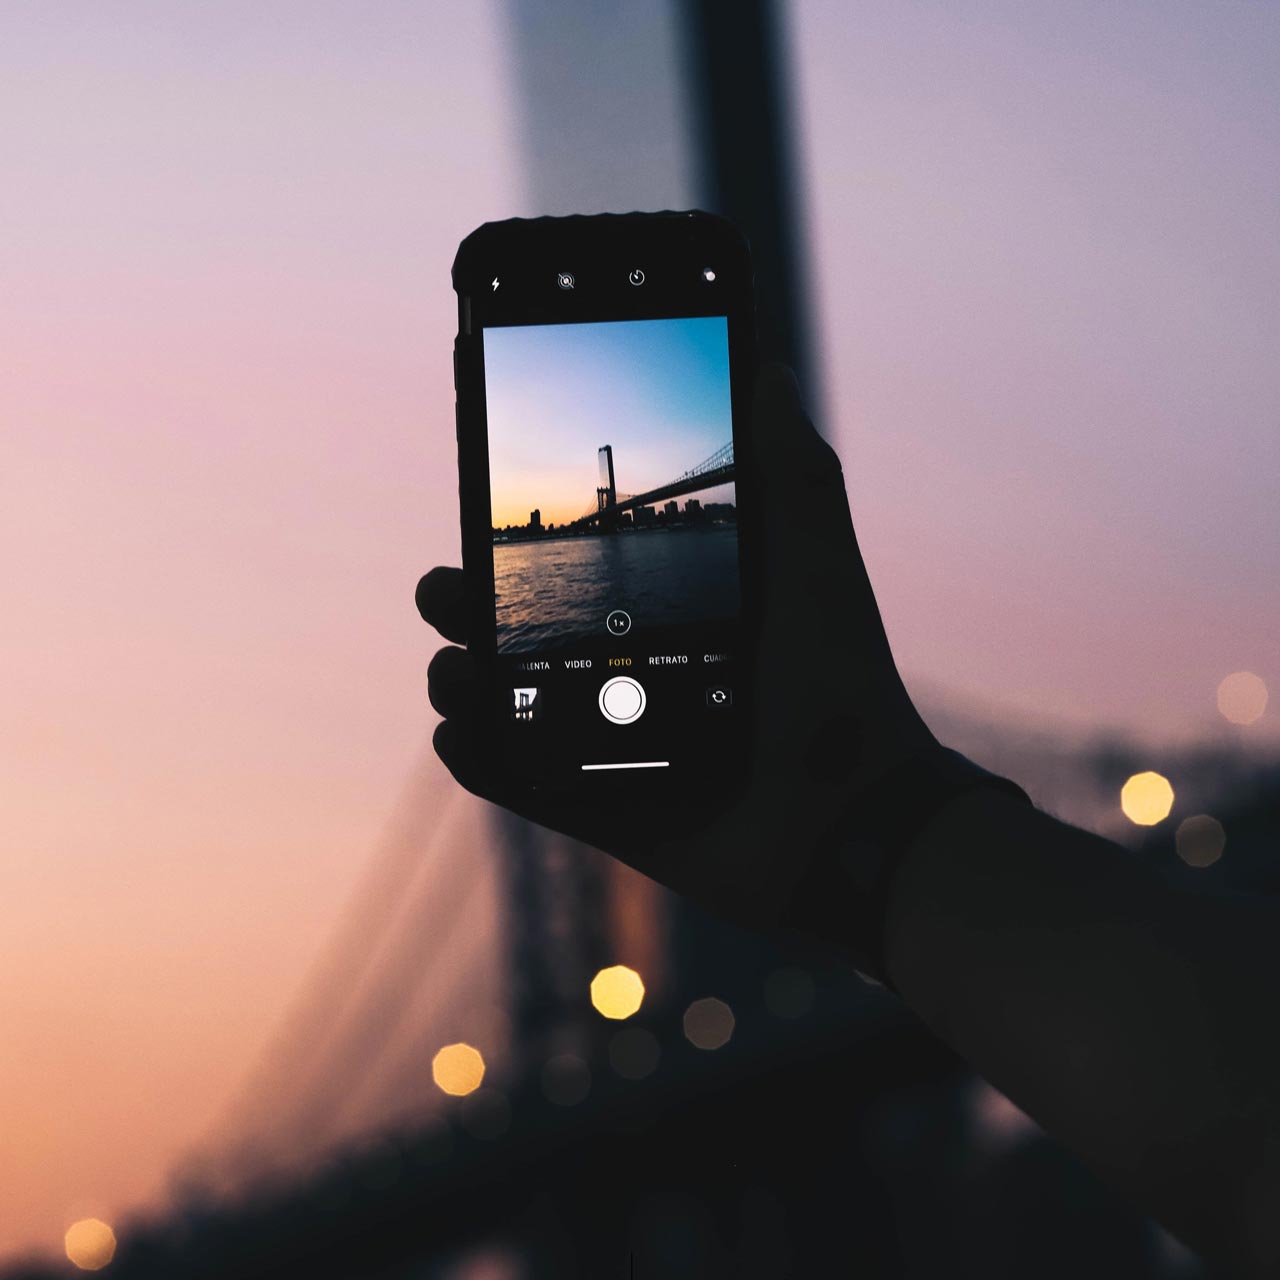
Over the lifespan of the iPhone, the low-light photography capabilities have dramatically improved. Scenes that were once impossible to capture anything other than total darkness can now be displayed in rich detail and vivid colors using the iPhone 13 Pro’s Night Mode.
The challenge now becomes how to leverage the full capabilities of the newest iPhone photo tech. Should you use Night Mode for your scene, or should you use the flash? What times of day and in what lighting conditions can you use Night Mode to add more depth to your photographs?
Are you struggling to take the kind of photos you want with your iPhone 13 Pro? Perhaps your night pictures chronically end up grainy or blurred, or there’s way too much light on the subject and not enough background detail? Shooting in low light can be challenging even with the newest iPhone. But with a few key principles, you can dramatically improve the results of your low light photography. We’ve assembled this quick guide for shooting sharp, high-quality photos at night using creative photo techniques with iPhone 13 Pro Night Mode.
Quick tips for using Night Mode on the iPhone
How do you turn on Night Mode?
The best thing about Night Mode is that it comes on automatically whenever you’re shooting at night or in low light conditions, regardless of which lens you’re shooting with—0.5, 1x, or 3x.
When your phone detects low light, the Night Mode (moon) icon appears at the top of the screen in the Camera app. When the light is moderately low but not too dark, this icon will be white, indicating Night Mode isn’t on yet, but can be activated. If you want to manually switch on Night Mode, tap the white Night Mode icon. It will then turn yellow.
If the light is low enough, Night Mode will automatically switch on and the icon will turn yellow. The number on the Night Mode icon indicates the exposure time. This is the number of seconds it will take to capture the photo, e.g., 3 seconds, 5 seconds, etc. Tap the yellow Night Mode icon to bring up the Exposure Time slider to adjust it.
The maximum exposure time will vary depending on the amount of light and how still you’re holding the phone. To switch off Night Mode, drag the slider all the way to the left to the Off position. Once you’ve selected the exposure time, hold the phone perfectly still and tap the shutter button, continuing to hold it still until you see the yellow exposure time scale run out at the bottom of the screen.
Prevent blurry low light photos when using Night Mode on the iPhone
You’ll also notice two crosshairs appear in the middle of the screen, one white and one yellow, to indicate when you’re not holding the phone still enough. Be sure to watch for these and hold your phone still until the shot is complete. The steadier you hold the phone, the less blur you’ll have in your image.
Prevent overexposure and graininess in your photos
Do your iPhone night photos often turn out too bright and grainy, with shadows appearing cloudy and gray and highlights that are overly bright and lacking detail? Then your exposure settings are probably too high, or you’re using flash when you should be using Night Mode instead.
The exposure settings are vital to balancing the brightness of your photos. To change the exposure time in the Camera app, tap to set focus on the subject in your scene, then swipe up or down to change the exposure settings.
You’ll want to set the exposure so dark areas like the sky and shadows appear black or very dark, but not gray. Then, be sure your bright areas have sufficient color saturation and detail. When everything looks balanced and not cloudy, tap the shutter button.
Creative photo techniques using Night Mode
Taking photos of sunrises and sunsets
Using Night Mode when taking photos when there’s low levels of light in the sky, just before sunrise and after sunset, can produce stunning levels of detail for captivating photos. You’ll get more color richness, more sharpness, and better color saturation in the background.
When the sun is just above the horizon, you can capture the warm glow of the golden hour. When the sun dips below the horizon, the scene’s color temperature will turn to a cooler blue, shifting the entire mood of the photo.
Turning on Night Mode around sunrise and sunset is especially useful when there are clouds in the sky, which will add visual interest and inject more drama into your photos.
Leveraging rain for creative nighttime photos
You can snag some of the most creative shots on rainy nights by leveraging the elements with other features like street lights and windows for added interest.
One method is to shoot raindrops through a window. First, find a spot where there are street lights and people walking by. Then, hold the camera lens close to the glass. Tap the screen to set the focus onto the water droplets and take your shot. The result will be a beautiful depth-of-field effect with a kaleidoscope of color behind a crisp drop of water.
You can also find beautiful colored reflections on the wet pavement or in puddles as well. Find places with street lights or neon signs to mix incredible color and detail into your low light photos.
Use lights as leading lines for your scene
To create stunning compositions when it’s dark, find leading lines. Leading lines are what make for strong compositions that pull the viewer into the scene. At night, these elements can be implemented using lights.
Search for rows of street lights to use as leading lines. Compose your shot so the lights lead from the foreground into the distance, or toward your subject. The lights will lead the viewer’s gaze deeper into the photo, conjuring a stronger feeling of depth and perspective. You can also experiment with composing shots using lights on either side of the frame for a perfectly symmetrical image, or use lines of lights to add patterns.
Keep Your iPhone 13 Pro Safe During Nighttime Photoshoots
Photoshoots in low light conditions deliver some of the most rewarding results for photographers, whether novice or professional. And with the iPhone 13 Pro, it’s easier than ever to capture breathtaking shots in seemingly impossible darkness. From astrophotography to selfies during an evening out with friends, the newest iPhone’s camera has you covered.
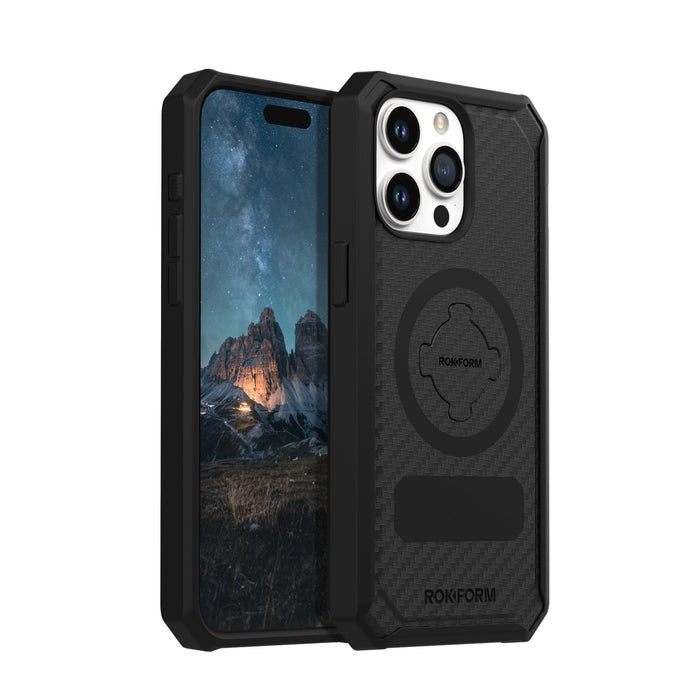
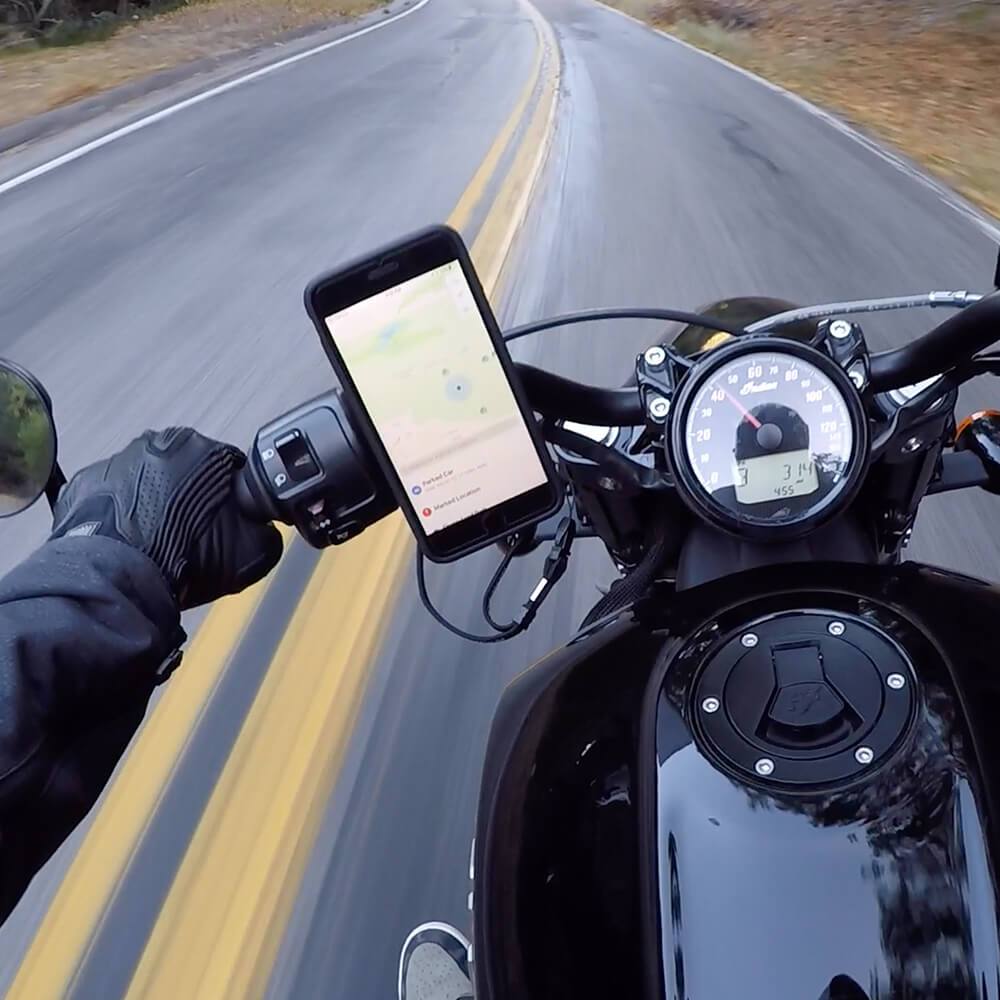
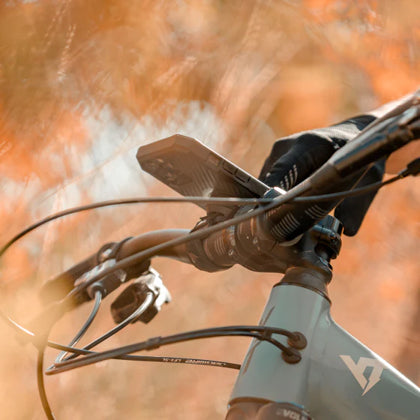
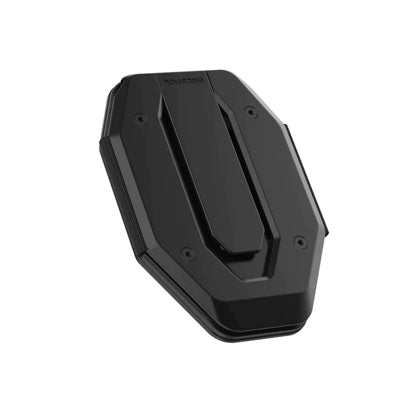
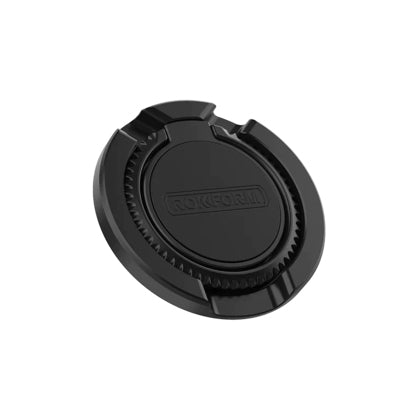
But when you’re going for the perfect angle, sometimes your phone can slip through your fingers, especially with an uncertain footing in the dark. Protect your phone from drops with a iPhone 13 Pro case from Rokform, and prevent drops from happening in the first place by getting a better grip with our Sport Ring cell phone stand and holder.
The Sport Ring combines our strong magnetic attachment with a fold-out stand that works in both horizontal and vertical orientations. Slip a finger through the ring for peace of mind and the most secure grip possible on your iPhone 13 Pro. The durable all-metal construction makes this accessory an absolute must for any serious phone photographer!