


Last summer, I was cruising through the Blue Ridge Mountains when my GoPro died right as I hit the most scenic stretch of road. That's when I realized I'd been thinking about motorcycle cameras all wrong. Look, motorcycle cameras have come a long way from just strapping a GoPro to your helmet and hoping for the best. These days, you've got action cameras with 157-degree wide-angle lenses and AI that actually cuts out wind noise. Pretty wild stuff.
Here's what I figured out after years of trial and error: the riders making the coolest videos aren't necessarily dropping the most cash on gear—they're the ones who've cracked the code on making all their devices work together without wanting to throw them off a cliff.
Turns out, according to Pitt Cycles, you need cameras that can record for at least 2-3 hours straight for longer rides. Sounds reasonable, right? Wrong. Most of us completely underestimate how much power we're actually sucking when we've got multiple gadgets running at once. Trust me, there's nothing worse than having everything die on you right when you hit the most epic stretch of road.
Table of Contents
Why Your Camera Setup is Probably Wrong
The Smartphone-Action Camera Power Play
Vibration Will Kill Your Gear (Here's How to Stop It)
Weather Isn't Your Only Enemy
Making Footage People Actually Want to Watch
Audio: The Make-or-Break Factor Everyone Ignores
Legal Stuff That Could Bite You Later
How Rokform Solves the Integration Puzzle
Final Thoughts
TL;DR
Modern motorcycle recording isn't about picking one camera—it's about creating a setup where your phone and action camera actually play nice together
Those motorcycle vibrations? They're literally destroying your camera's guts, not just making shaky videos
Your bike's electrical system probably can't handle running GPS, charging cameras, and keeping Bluetooth going all at the same time (yeah, it's a problem)
Going from your garage to highway temps can kill more cameras than actual crashes
Wind noise is pure physics, and you need way more than just a foam thingy to fix it
Recording laws change when you cross state lines, which could make your footage totally useless in court
Good mounting systems like Rokform's can end the whole "smartphone vs. action camera" headache once and for all
Why Your Camera Setup is Probably Wrong
We've all been there—you're 200 miles from home, your phone's dead, your action camera is overheating, and you just missed filming the most epic twisty road of your life. It sucks, and it's totally avoidable.
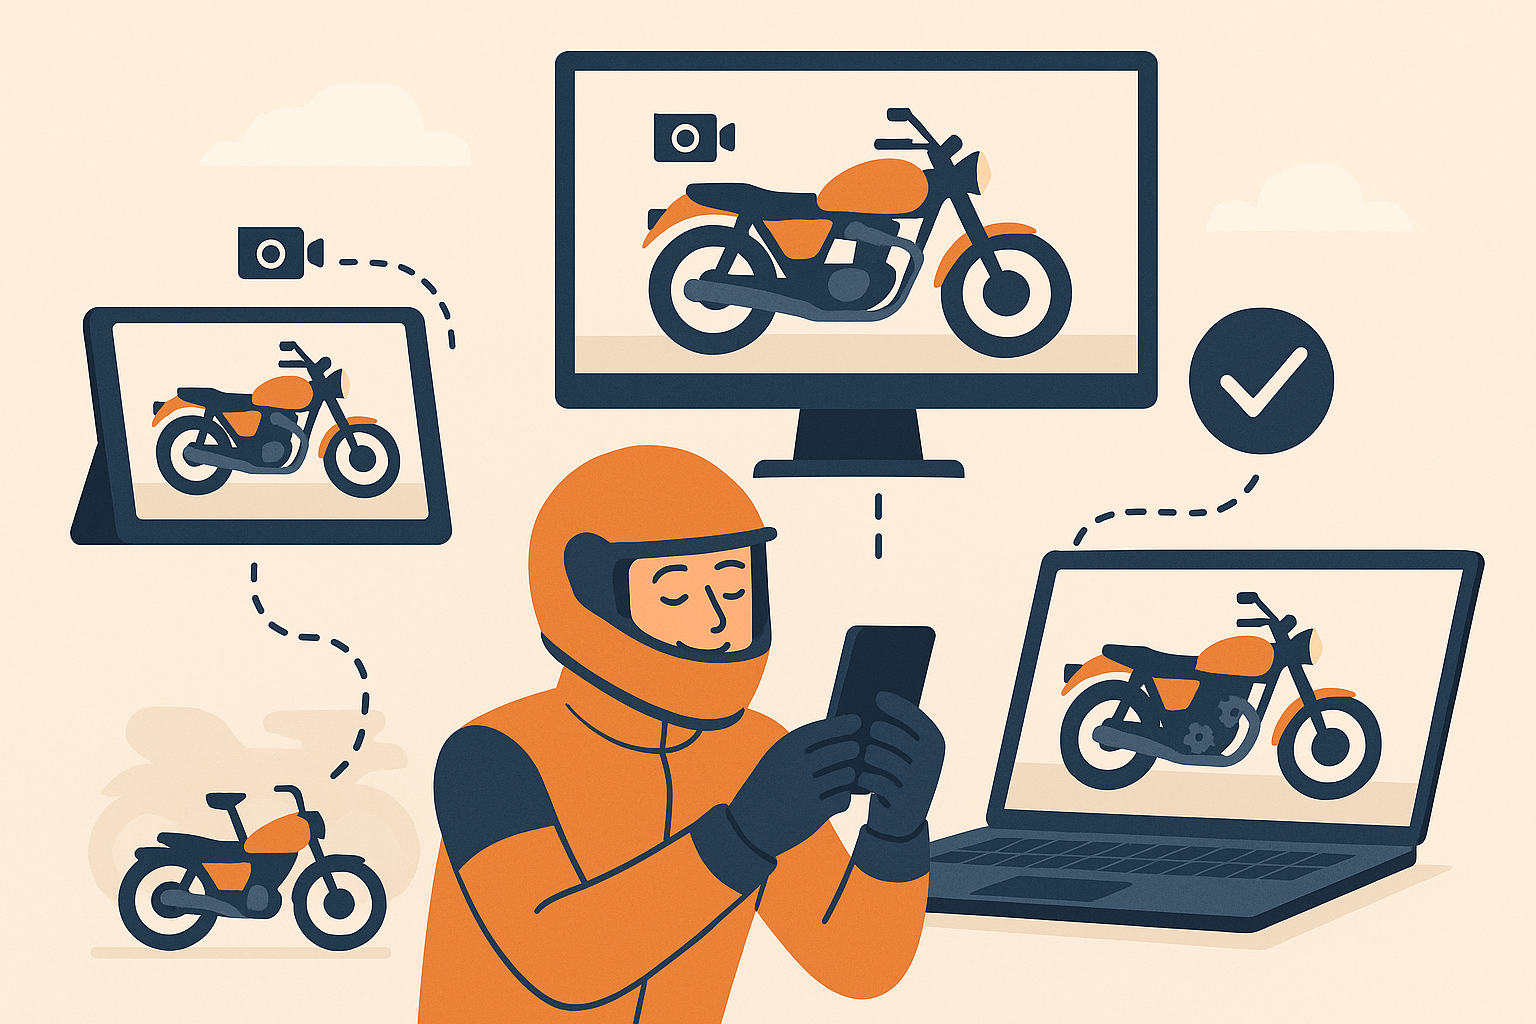
Most riders think they need to pick one device and stick with it. I used to think the same thing until I realized that the best camera for motorcycle recording actually means getting your smartphone and action camera to work as a team instead of fighting each other.
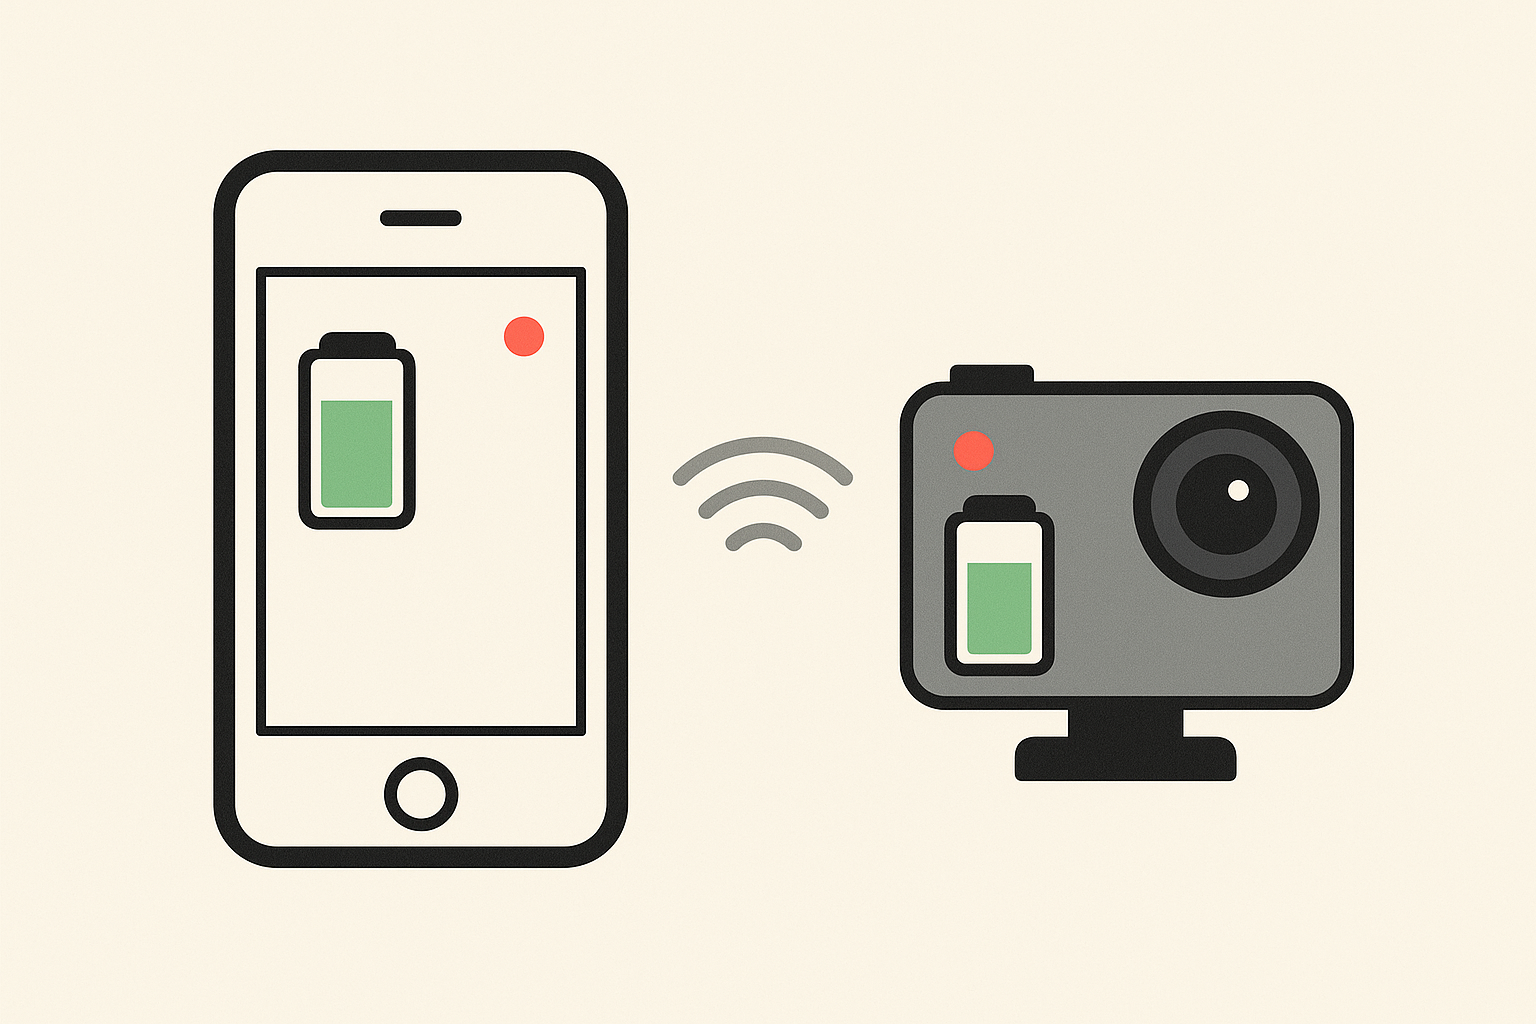
Here's the deal: your phone is basically a tiny computer that's great at GPS, music, and live streaming stuff. Your action camera? That thing is built to record high-quality video for hours without breaking a sweat. When you try to make one device do everything, you're setting yourself up for frustration.
Picture this: you're heading out for a weekend ride to the mountains. Your phone is handling GPS and Spotify while your action camera is recording everything in 4K. Sounds perfect, right? But without proper integration, you'll be looking at a dead phone by lunchtime, an overheated action camera, and no way to sync up all that footage later. Been there, done that, bought the t-shirt.
A smart approach means your phone handles the navigation and connectivity while the action camera does what it does best—record. Both devices share the power load through your bike's charging system, and you're not constantly babysitting everything.
The Smartphone-Action Camera Power Play
The future isn't about choosing between your phone and an action camera—it's about making them work together like they're supposed to. Your smartphone kicks ass at real-time processing, staying connected, and being easy to use. Dedicated cameras handle the heavy lifting of sustained recording without turning into expensive hand warmers.
This tag-team approach gives you the best of both worlds: smart features when you need them and rock-solid recording when it counts. I've noticed that riders who figure this out create way better content than those stuck trying to make one device do everything.
When you're looking for the best camera for motorcycle vlogging, remember that people expect smooth transitions between different angles and perspectives. You can't pull that off with just one camera.
Managing Multiple Device Batteries Without Going Crazy
Here's where things get real: the biggest headache isn't individual battery life—it's managing the power hunger of your entire setup. When your phone runs GPS, it can drain 30-40% battery every hour. Throw in Bluetooth connections to your action cameras, and you're looking at another 10-15% drain on top of that.
Most of us don't realize how bad this gets until we're stuck somewhere with dead devices. The math gets brutal when you factor in music streaming, your comm system, and maybe some heated gear all sucking power at the same time.
Device |
Power Draw (Watts) |
Battery Life (Hours) |
Priority Level |
|
|---|---|---|---|---|
Smartphone (GPS + Music) |
8-12W |
3-4 hours |
Critical |
|
Action Camera (4K Recording) |
6-8W |
2-3 hours |
High |
|
Bluetooth Intercom |
2-3W |
8-10 hours |
Medium |
|
Total System Draw |
16-23W |
2-3 hours |
- |
Understanding these numbers helps you make smart decisions about which camera for motorcycle use will actually work with your power budget.
Power Priority Systems That Actually Work
You need a game plan for managing device power on long rides, and it starts with setting up clear priorities. Navigation and communication always come first—recording quality comes second.
Here's what I do: I set my action camera to automatically drop recording resolution when my phone battery hits 40%. This way, I keep GPS working throughout the ride. The automated approach saves you from making panic decisions that usually end with a dead phone when you need it most.
Power Management Checklist:
Set phone to power-saving mode at 50% battery
Set up action camera auto-resolution scaling
Turn on low-power GPS mode for rides over 4 hours
Always carry a backup power bank with at least 20,000mAh
Test your total system draw before any long rides
Your Bike's Charging Reality Check
Your bike's charging system was designed by optimists who assumed you'd only need to charge one thing at a time. Cute, right? Just installing a bunch of USB ports isn't enough—you need to understand what your motorcycle can actually handle. Most bikes give you 10-15 watts through standard USB ports, but running GPS, charging an action camera, and keeping Bluetooth going needs 20-25 watts of continuous power.
This math problem catches most of us off guard, leading to slowly dying devices even when they're "charging." According to Motorcycle News, action cameras with decent stabilization can handle constant vibrations, but most riders don't know their bike's charging system might only provide 10-15 watts through USB ports while their whole setup needs 20-25 watts continuously.
Making Multiple Cameras Play Nice Together
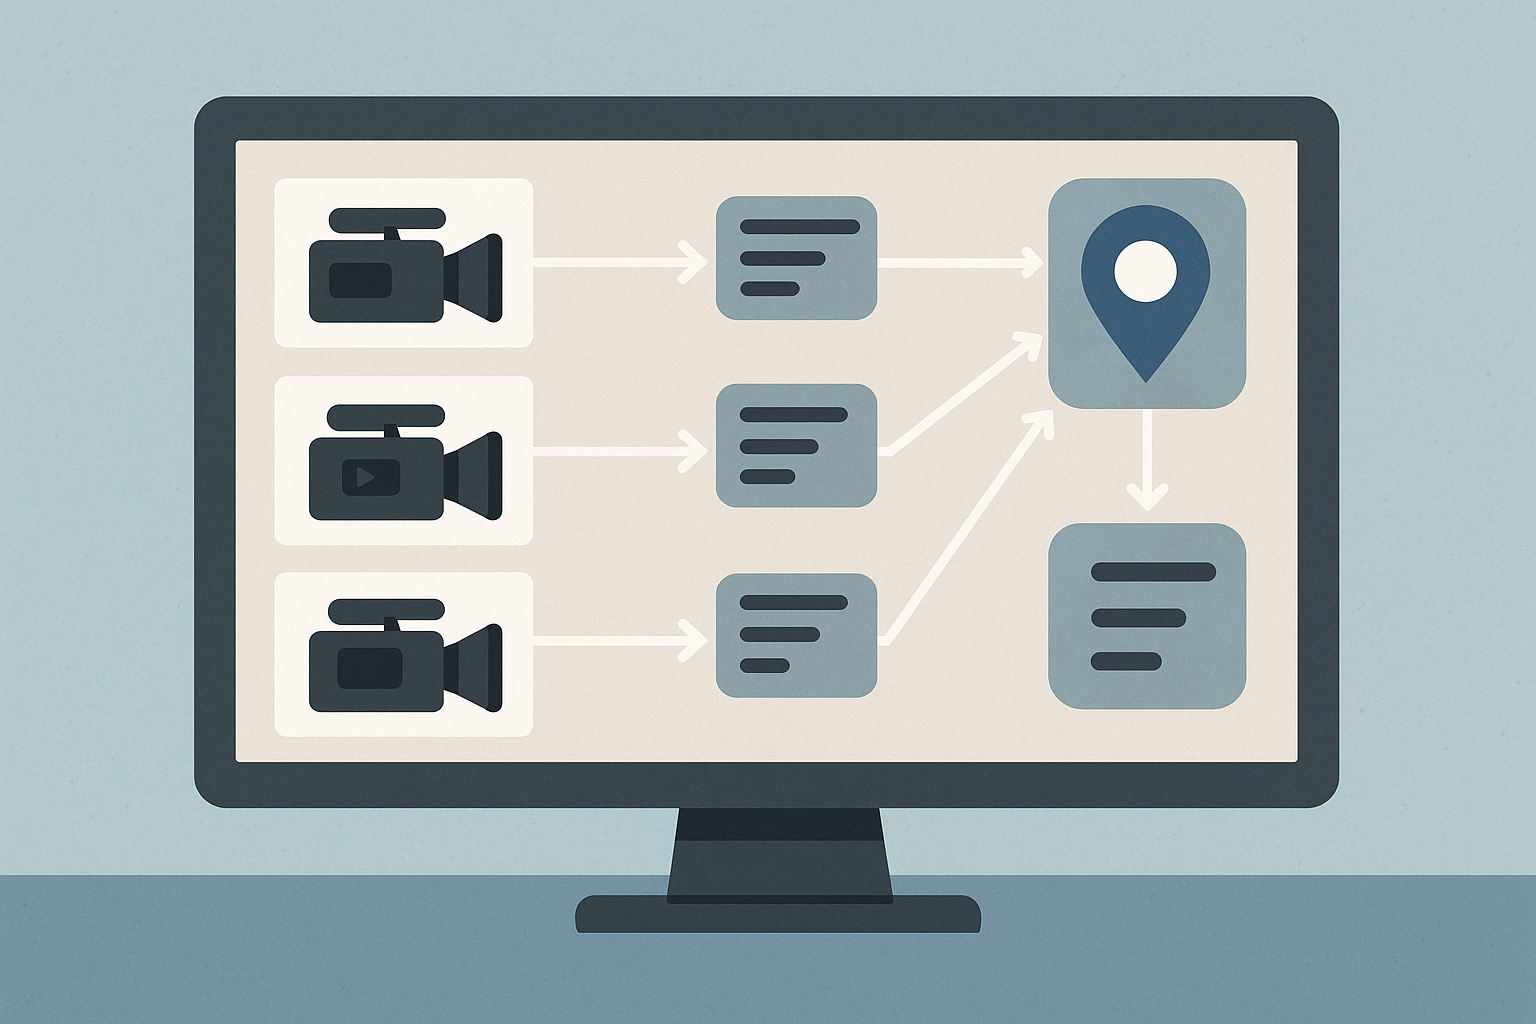
The real challenge isn't getting great footage—it's organizing content from multiple devices into something that makes sense without spending your entire weekend editing. Modern setups generate GPS tracks, phone footage, action camera recordings, and audio from your comm system, all with slightly different timestamps and file formats.
Without a system, you'll spend more time organizing files than actually riding. I've seen riders completely give up on multi-camera for motorcycle setups because they couldn't handle the post-production nightmare.
GPS-Based Auto-Sync Magic
Set up your devices to embed GPS coordinates and movement data into video files. This lets post-processing software automatically line up footage from different cameras based on where you were and how you were moving.
This eliminates the tedious manual sync work that makes most riders abandon multi-camera setups. The key is making sure all your devices have the same time before you start recording. I use atomic clock apps to sync everything within milliseconds before each ride.
Vibration Will Kill Your Gear (Here's How to Stop It)
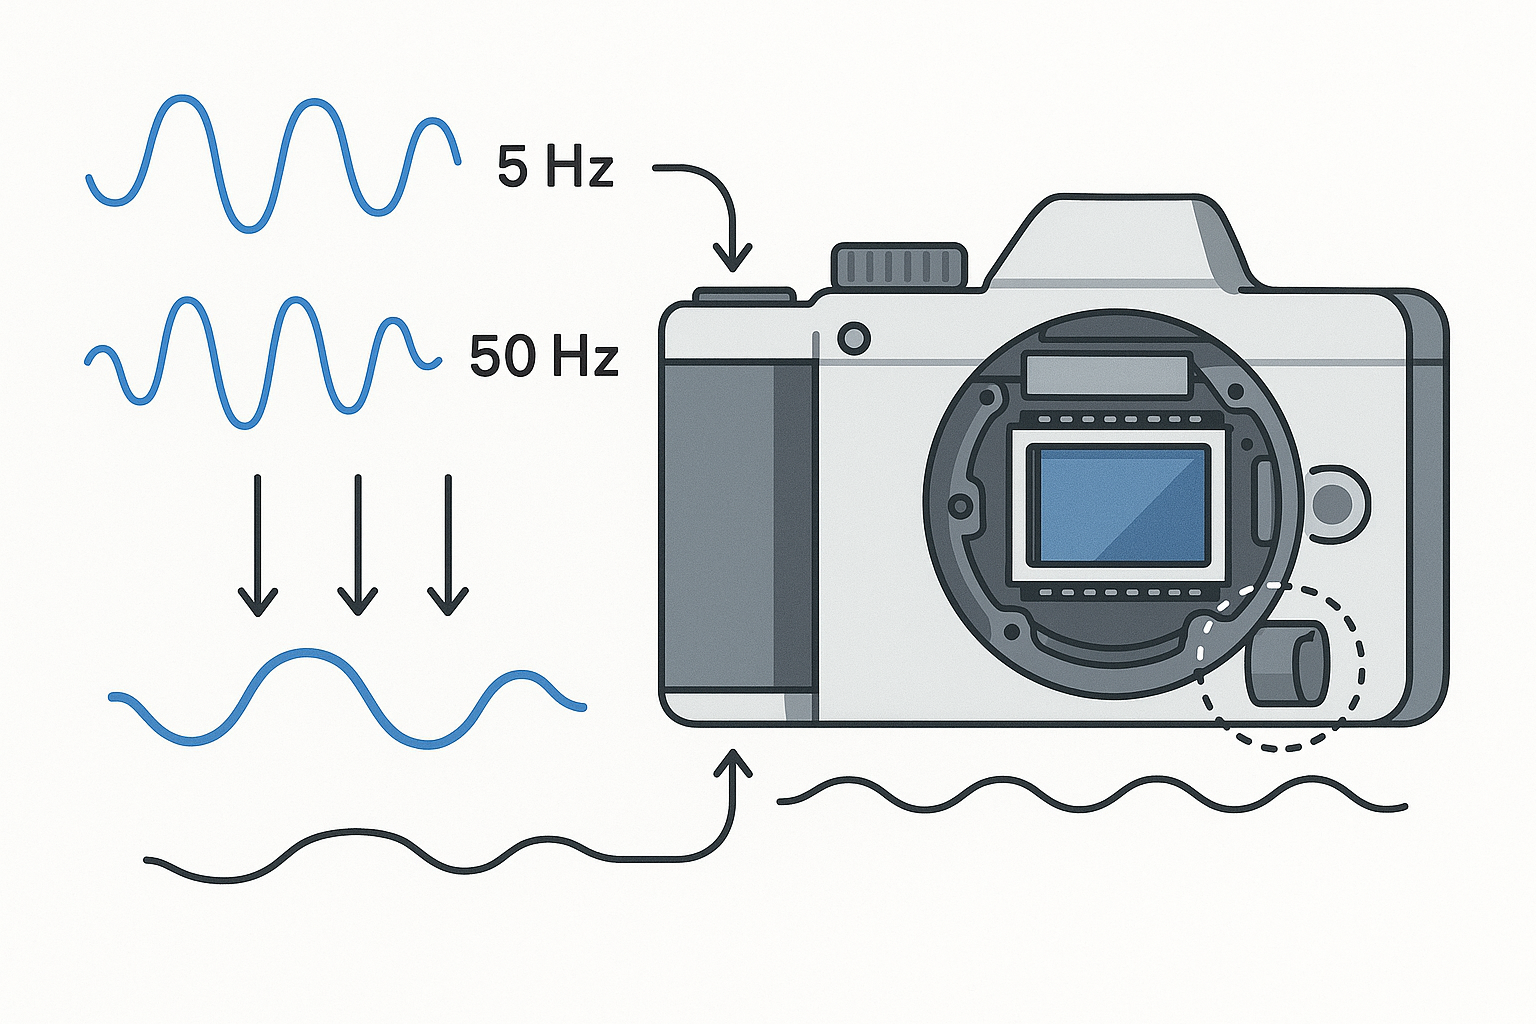
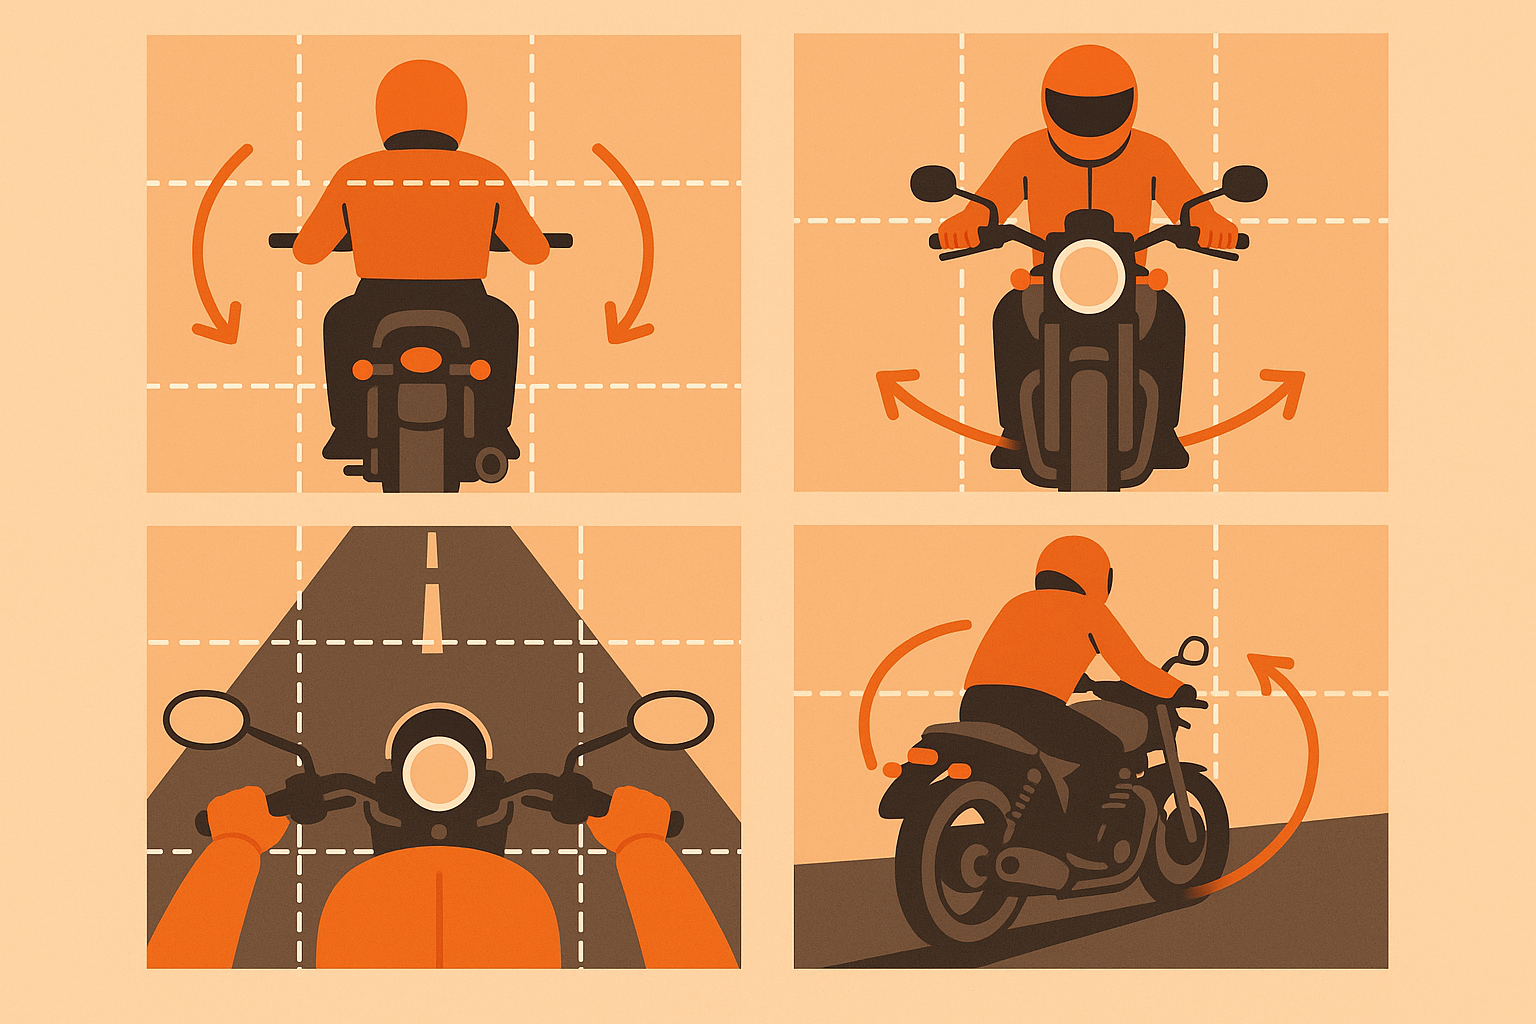
Here's something that'll freak you out: motorcycle vibrations run at frequencies (80-200 Hz) that perfectly match the resonant frequencies of camera stabilization systems. We're not just talking about shaky footage here—prolonged exposure to these vibrations can permanently wreck your camera's internals.
I learned this the hard way when I fried a $400 camera because I didn't understand how my Harley's vibrations were literally shaking it apart from the inside. The delicate stuff inside smartphones and action cameras wasn't designed for constant vibration. I've watched expensive cameras develop permanent stabilization problems after just a few hundred miles of motorcycle mounting.
The Engineering Behind Vibration Damage
Think of vibration dampening like shock absorbers for your camera—you wouldn't ride without suspension, so why mount your expensive gear with just a rubber pad? Those generic rubber mounts might stop visual shake, but they don't protect against the specific frequencies that actually damage camera hardware. Real vibration dampening uses layered materials with different densities to absorb various frequency ranges.
These systems typically combine silicone, foam, and rigid elements in calculated thicknesses. Most "vibration dampeners" you can buy are just thick rubber that makes you feel better while your motorcycle camera slowly destroys itself internally.
Matching Solutions to Your Bike's Vibration Signature
A single-cylinder thumper produces totally different vibration patterns than a V-twin or inline-four. A Harley's low-frequency rumble (60-120 Hz) needs different dampening than a sportbike's high-frequency buzz (150-300 Hz).
Understanding your specific bike's profile lets you pick targeted solutions instead of universal compromises. Take a Yamaha MT-07's parallel twin—it produces vibrations mainly in the 90-140 Hz range, which directly conflicts with smartphone camera stabilization systems. Using a generic rubber mount might reduce visible shake but won't prevent the internal damage happening at those specific frequencies.
A properly engineered mount would use layered dampening materials tuned to absorb 90-140 Hz vibrations while staying rigid for other frequencies. This targeted approach protects your gear without compromising mounting security.
Weather Isn't Your Only Enemy
True motorcycle camera durability goes way beyond those IP ratings and waterproof claims. The combination of temperature swings, humidity changes, salt exposure, and UV radiation creates a hostile environment that kills cameras in ways most riders never think about.
I've seen more cameras fail from environmental factors than from crashes or drops. The damage often shows up months after exposure, making it really hard to figure out what actually caused the problem.
Temperature Shock: The Silent Killer
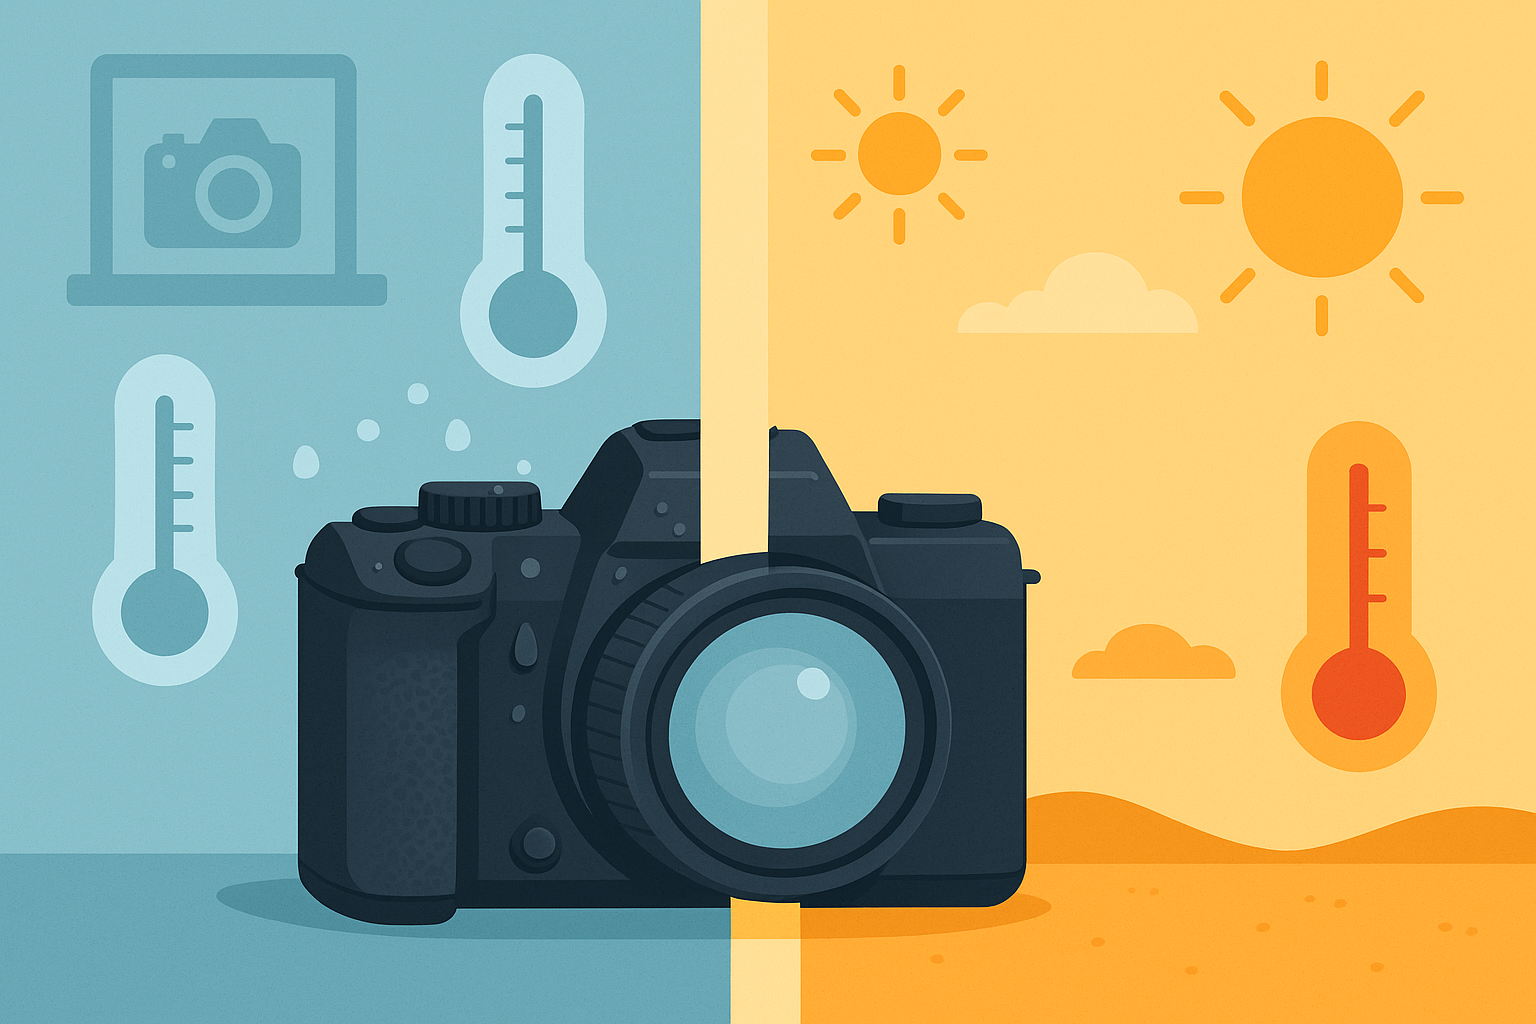
Cameras mounted on motorcycles go through rapid temperature changes that can span 60-80°F within minutes—from your air-conditioned garage to direct sunlight on hot asphalt. These thermal shocks cause internal condensation, lens fogging, and expansion-related mechanical failures.
Standard "operating temperature" specs don't address the rapid cycling that motorcycles create. The damage builds up over time, eventually causing failures that riders blame on "defective" equipment.
Conditioning Your Gear for Temperature Extremes
Before mounting cameras after storage, give them 15-20 minutes to gradually adjust to temperature. Keep silica gel packets in your camera cases and replace them monthly during humid seasons.
These simple steps prevent 80% of moisture-related failures that riders blame on "defective" equipment. The time investment pays off in equipment longevity. I've extended camera life by years using these basic conditioning practices.
Chemical Warfare on Your Camera
Road salt, fuel additives, and chain lubes create a corrosive environment that attacks camera housings, seals, and lens coatings. The cumulative effect of these exposures often causes failures months after initial contact.
Most warranty claims for "premature failure" actually stem from chemical exposure that riders never connected to the problem. Your camera doesn't know the difference between a manufacturing defect and chemical damage—it just stops working.
Material Selection That Matters
Aluminum mounts corrode when exposed to road salt, while certain plastics become brittle after fuel vapor exposure. Do your homework on the specific materials used in camera construction and mounting hardware.
Go for stainless steel, marine-grade aluminum, and chemical-resistant polymers for long-term reliability. This research phase saves money and frustration down the road. I've learned to read material specs as carefully as technical specs when choosing equipment.
Making Footage People Actually Want to Watch
The gap between capturing motorcycle footage and creating engaging content comes down to understanding cinematic principles adapted for motorcycle environments. Most riders obsess over camera specs while ignoring the storytelling techniques that make footage actually watchable.
Technical quality means nothing if your content puts viewers to sleep. Recent developments in action camera tech have revolutionized motorcycle filming. "The Insta360 X4 is by no means perfect, but it has a lot going for it, and its ease of use, thanks to the Insta360 app, makes it ideal for quick edits and those who don't want to faff around with uploading to a computer" according to Cycling Weekly, showing how modern cameras are focusing on user-friendly editing workflows over pure technical specs.
Using Road Geometry as Your Director
Motorcycle cameras capture inherently dynamic footage, but most riders mount cameras in static positions that waste this natural movement. Understanding how curves, elevation changes, and traffic patterns create visual interest lets you position cameras for maximum impact.
The road itself becomes your cinematographer when you understand these principles. I've learned to read upcoming terrain and adjust camera angles accordingly, creating more engaging footage without constantly repositioning stuff.
Predicting Visual Gold Before It Happens
Experienced motorcycle videographers develop the ability to predict visual opportunities—upcoming curves that will create natural panning shots, traffic situations that will provide interesting foreground elements, or lighting conditions that will enhance mood.
This predictive skill transforms routine rides into compelling visual stories. It's about thinking three moves ahead, anticipating how current road conditions will translate into engaging footage. The difference between amateur and professional-looking content often comes down to this forward-thinking approach.
Audio: The Make-or-Break Factor Everyone Ignores
Most riders obsess over video quality while completely ignoring audio, resulting in footage that's unwatchable due to overwhelming wind noise. Professional motorcycle content requires understanding how to capture multiple audio layers—engine sound, ambient environment, and rider commentary.
Bad audio ruins good video every single time. I've seen stunning 4K footage become completely unwatchable because the audio track was nothing but wind noise and distortion.
According to Canyon Chasers, the Insta360 Ace Pro 2 has 45mm JBL speakers and can sync to Bluetooth mics like Cardo headsets, with the app letting you adjust the balance between voice, engine sound, and ambient audio—a total game-changer for motorcycle vloggers who used to struggle with wind noise at highway speeds.
The Physics of Wind Noise (And How to Beat It)
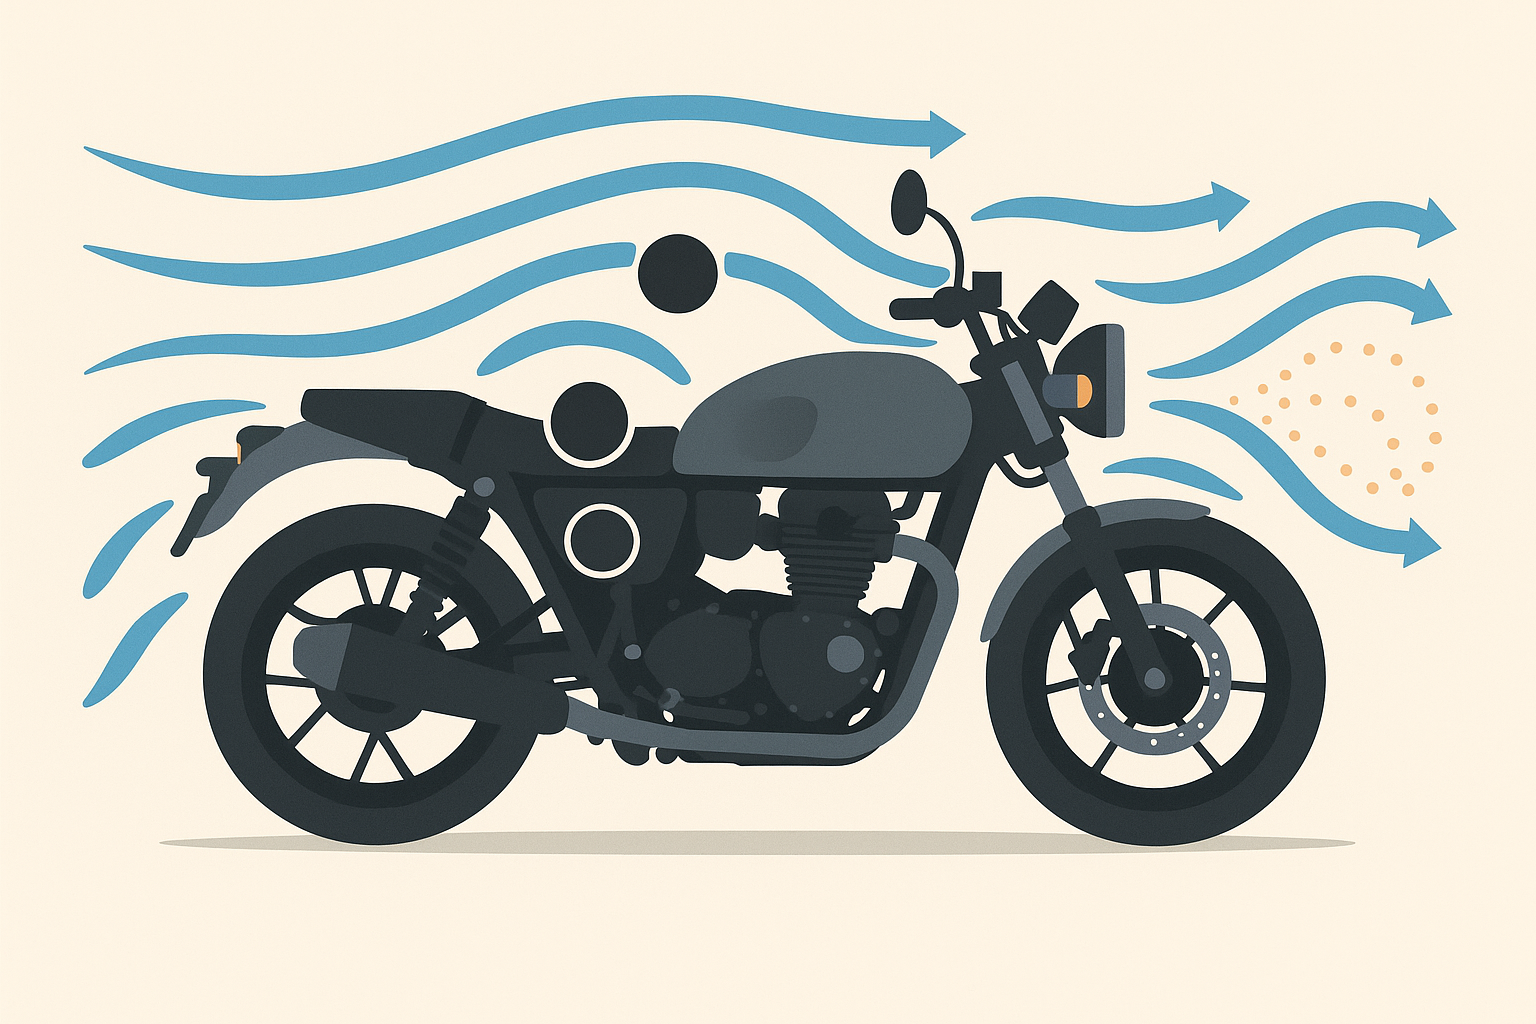
Wind noise isn't just loud—it operates in frequency ranges that mask the engine sounds and environmental audio that make motorcycle footage engaging. At highway speeds, wind turbulence creates broadband noise that overwhelms microphone diaphragms.
This requires specific positioning and shielding strategies rather than just slapping on foam windscreens. Understanding airflow patterns around your bike is crucial for effective audio capture.
Finding Your Bike's Acoustic Sweet Spots
That area right behind your windscreen creates a low-pressure zone with way less wind turbulence. Positioning mics in this acoustic shadow, usually about 6-8 inches behind the windscreen edge, captures engine sound while avoiding direct wind impact.
This requires custom mounting solutions that most riders never think about, but the audio quality improvement is huge. I've found that each bike has unique acoustic characteristics that require some experimentation to get right.
Building Layered Soundscapes
Professional motorcycle audio uses three distinct zones: near-field (helmet/rider area) for commentary, mid-field (bike-mounted) for engine sound, and far-field (ambient) for environmental context. Each zone needs different mic types and wind protection strategies.
This multi-zone approach creates rich, immersive audio that matches the visual excitement of motorcycle footage. The complexity might seem overwhelming at first, but the results justify the effort when you hear the difference in your final content.
Audio Zone |
Microphone Type |
Wind Protection |
Primary Purpose |
|---|---|---|---|
Near-field (Helmet) |
Lavalier/Headset |
Foam + Windscreen |
Rider Commentary |
Mid-field (Bike) |
Shotgun/Dynamic |
Dead Cat + Baffle |
Engine/Exhaust Sound |
Far-field (Ambient) |
Omnidirectional |
Multiple Barriers |
Environmental Context |
Backup (Phone) |
Built-in |
App-based Filtering |
Emergency/Sync Audio |
Bluetooth Audio Integration Without the Headaches
Modern riders use Bluetooth comm systems that create complex audio mixing challenges. Your helmet speakers are playing GPS directions, music, and phone calls while your cameras are recording engine noise and wind—creating overlapping audio tracks that need sophisticated post-processing to balance properly.
Most comm systems can output mixed audio directly to cameras, but the default settings prioritize communication clarity over recording quality. The integration of comm systems with recording equipment has gotten way more sophisticated, opening up new possibilities for content creators.
Getting Clean Audio Feeds from Your Comm System
Adjusting AGC (Automatic Gain Control) settings and turning off noise cancellation for recording outputs gives you cleaner source material for post-processing. These technical adjustments make the difference between amateur-sounding footage and professional-quality content.
Most riders never mess with these settings, missing out on significantly better audio quality. I spend time configuring each comm system specifically for recording rather than just accepting default settings designed for phone calls.
Legal Stuff That Could Bite You Later
Motorcycle cameras create unique legal considerations that most riders never research until they actually need the footage. Recording laws vary dramatically between states and countries, with specific complications around helmet cameras, audio recording, and privacy rights.
Not knowing these laws can turn your protective evidence into legal liability. I've seen riders lose court cases because their footage violated recording statutes they didn't even know existed.
Crossing State Lines Changes Everything
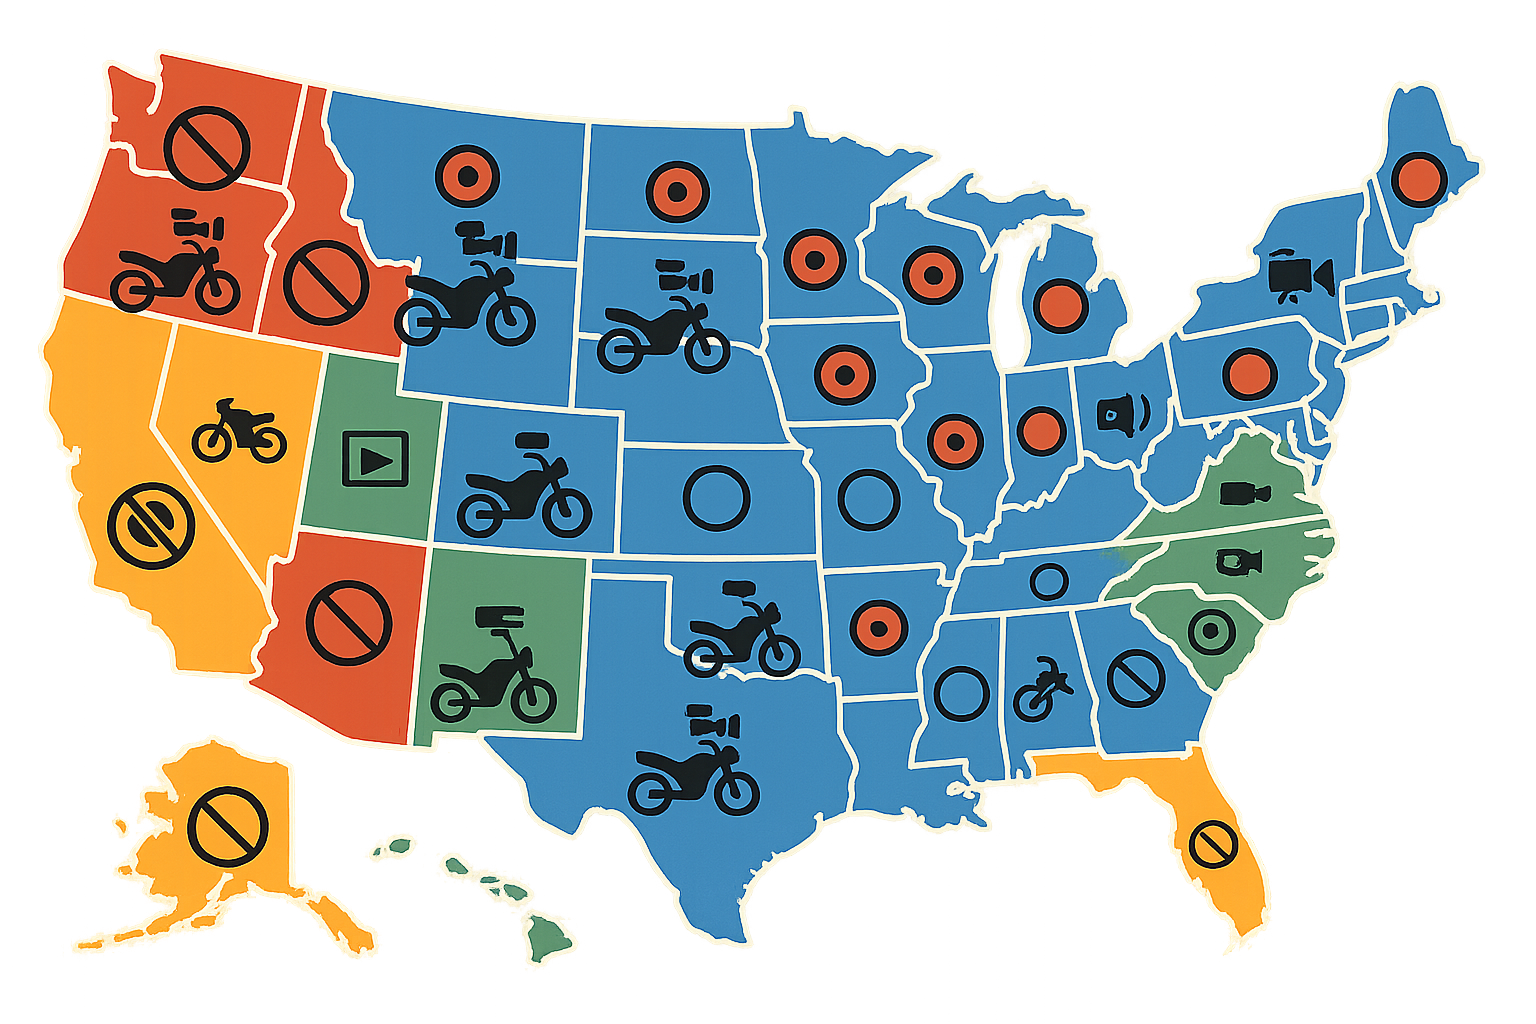
Unlike stationary security cameras, motorcycle cameras regularly cross jurisdictional boundaries, potentially violating different recording laws within a single ride. Some states require two-party consent for audio recording, while others have specific restrictions on helmet-mounted devices.
A single ride from California to Nevada could involve three different sets of recording laws. The complexity multiplies when you consider that federal highways might have different regulations than state roads.
Making Your Footage Court-Ready
The technical specs that make footage legally admissible often differ from what creates engaging content. Courts require timestamp accuracy, unedited original files, and proper chain of custody documentation that most riders never maintain.
Setting up these practices before you need them is crucial. I keep separate storage for legal-grade footage versus content creation material, making sure I always have court-admissible evidence when necessary.
Legal Compliance Checklist:
Research recording laws for your planned route states
Turn on GPS timestamp on all devices
Keep original, unedited files separately
Document chain of custody for incident footage
Check audio recording consent requirements
Verify helmet camera protrusion limits by state
Insurance: Friend or Foe?
Some insurance companies offer discounts for riders who use cameras, while others consider them evidence of "high-risk behavior." Understanding your insurer's specific policies around camera use can save you hundreds of dollars annually while providing crucial accident protection.
The key is asking the right questions before you mount that first camera. A rider in Texas found out their insurance company offered a 5% discount for dash cam usage but considered helmet cameras "modifications" that voided coverage. By switching to a bike-mounted system and telling their insurer proactively, they kept their coverage while still capturing protective footage.
Protecting Privacy in a Connected World
Motorcycle cameras capture license plates, faces, and GPS coordinates that create privacy liabilities if footage gets shared publicly. Setting up systematic data scrubbing and secure storage practices protects both your privacy and that of others who show up in your footage.
This isn't about being nice—it's about avoiding legal complications. I use automated tools to blur license plates and faces before sharing any content publicly, keeping a clean separation between personal documentation and public content.

How Rokform Solves the Integration Puzzle
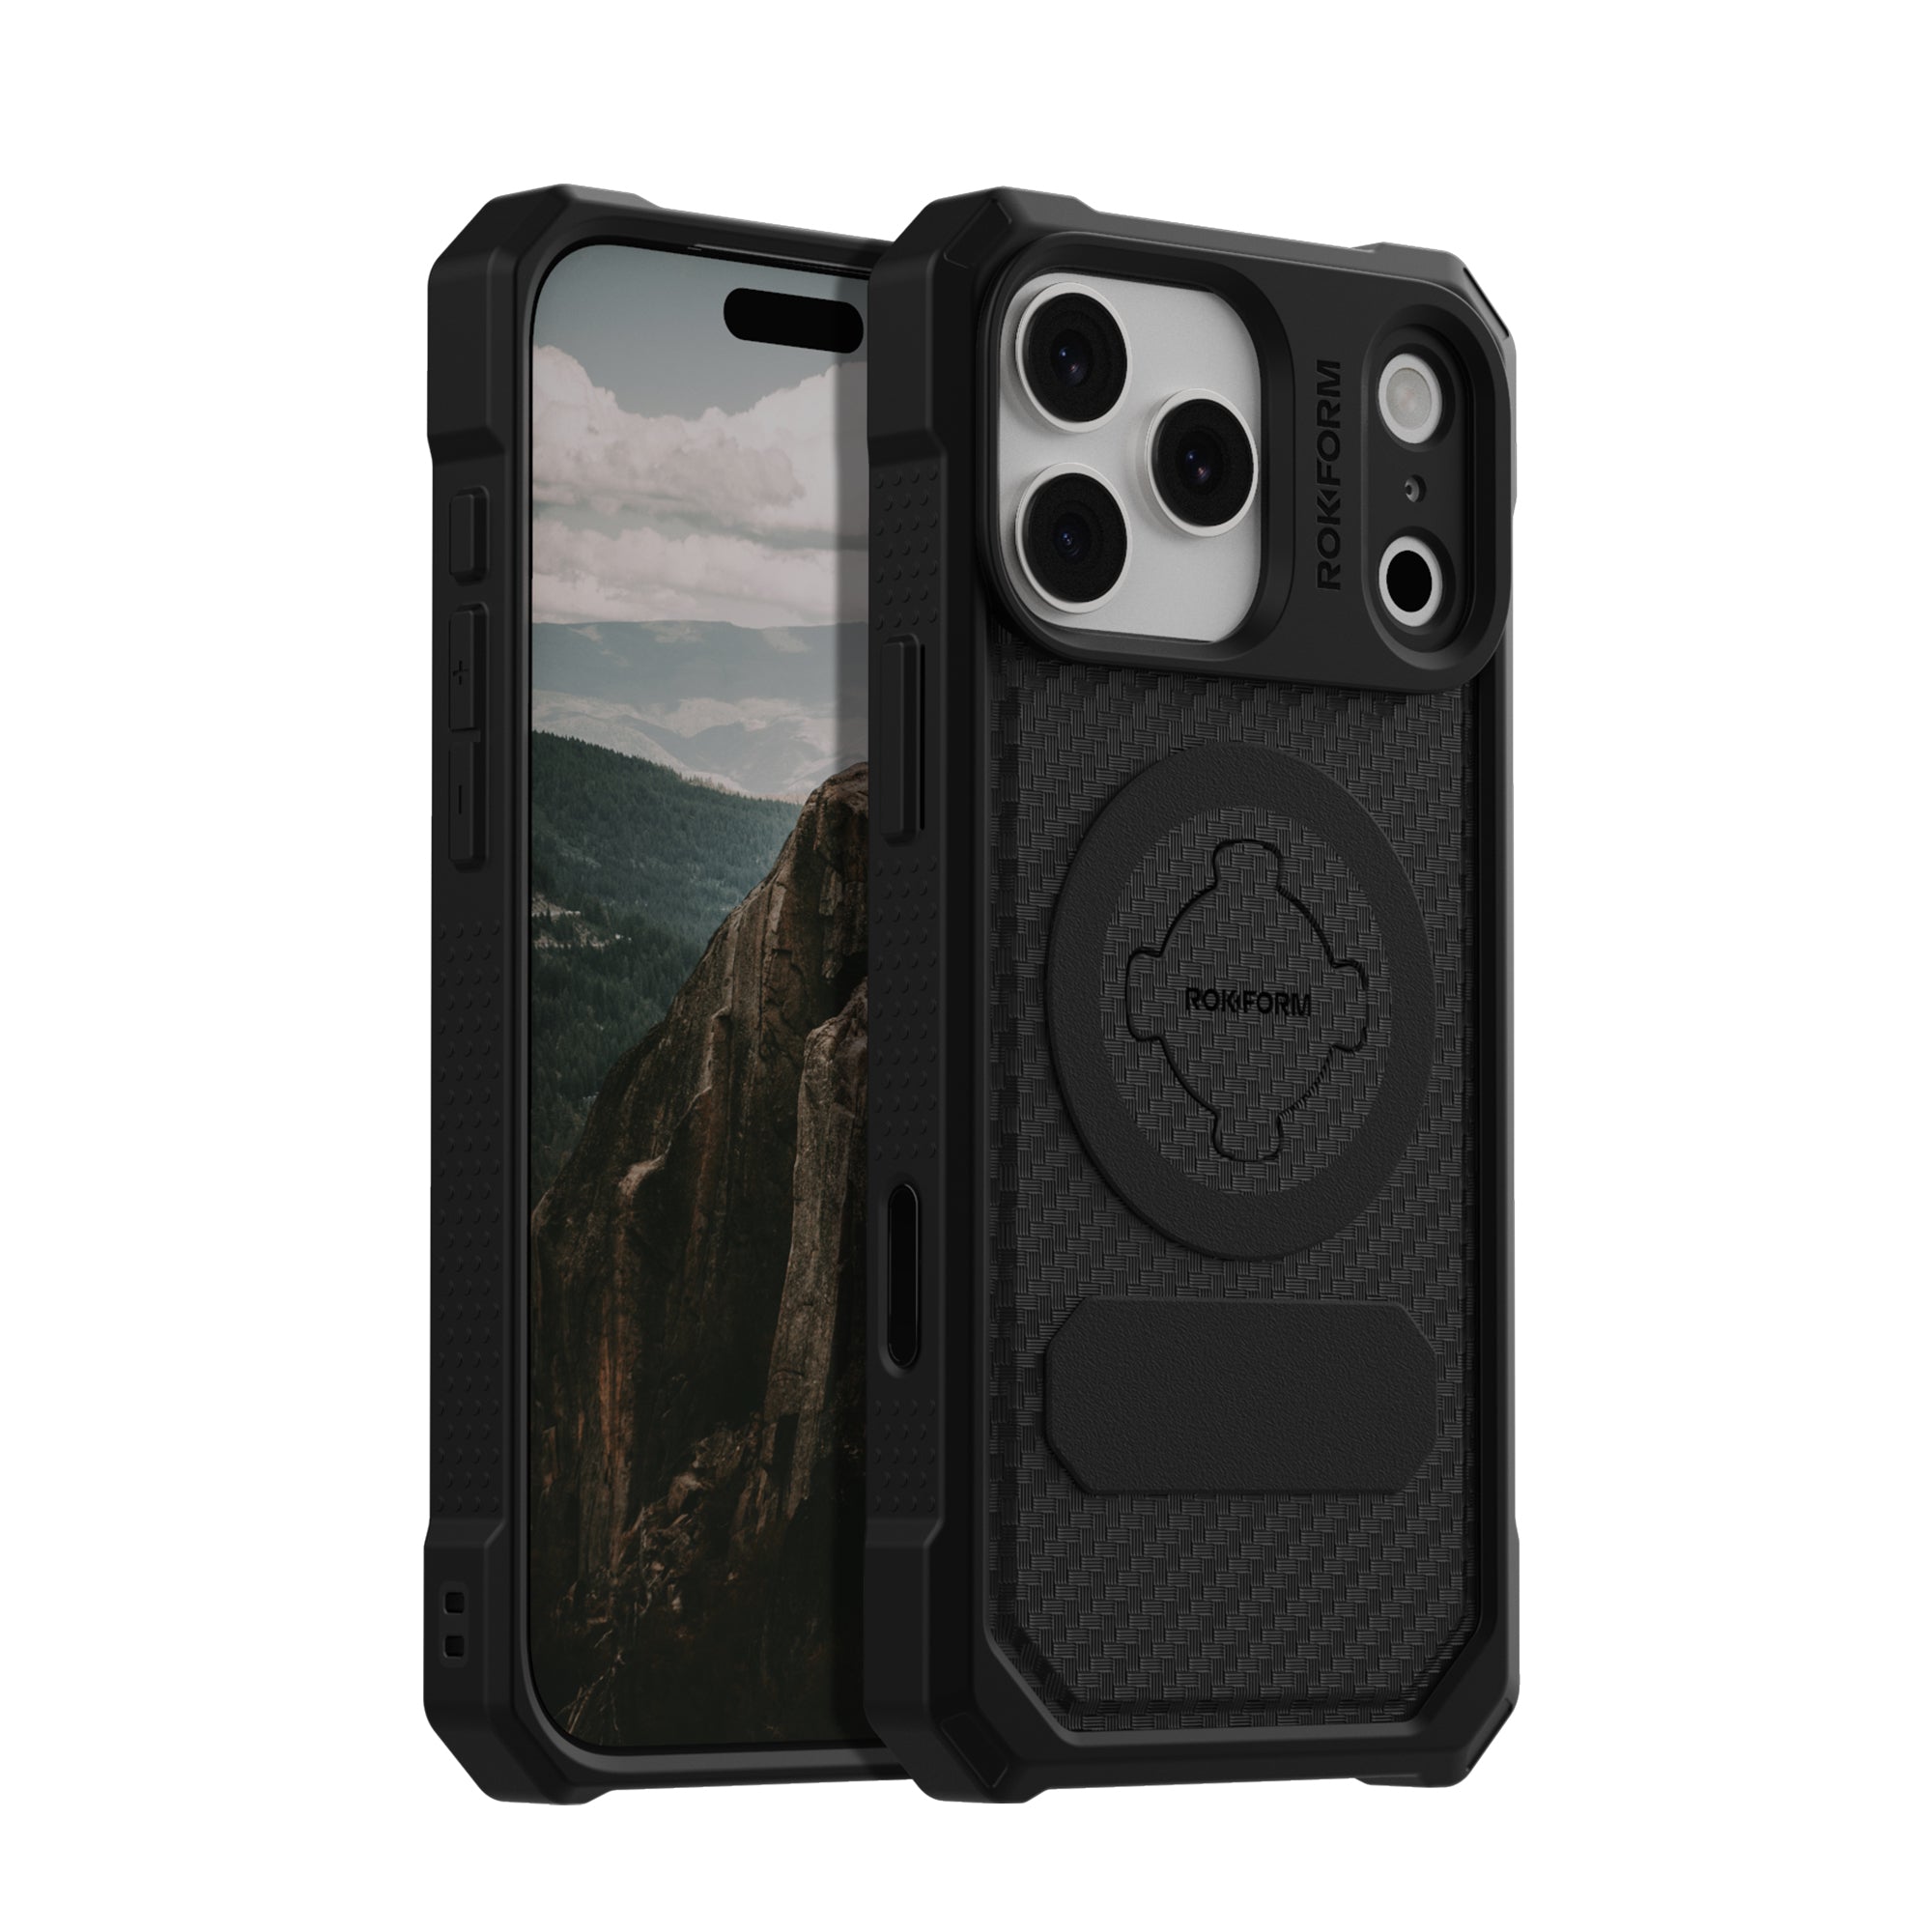
Rokform's motorcycle mounting ecosystem addresses the core challenges I've outlined through engineered solutions that most riders overlook. Their CNC-machined aircraft-grade aluminum mounts provide the frequency-specific vibration damping needed to protect smartphone cameras from the resonant frequencies that destroy stabilization systems.
The RokLock™ twist-lock system with integrated magnets creates redundant security that lets riders use their smartphones as primary recording devices without constantly worrying about dropping their phone at 70 mph. This eliminates the fear factor that keeps many riders from using their phones as their primary best camera for motorcycle recording.
The real innovation is in Rokform's understanding that modern motorcycle camera systems need seamless transitions between navigation, communication, and recording functions. Their mounting system lets you quickly rotate between landscape recording orientation and portrait navigation viewing, while keeping everything securely attached through their four-point protection system.
For motorcycle content creators, Rokform's system enables the smartphone-centric workflow that modern editing and sharing platforms demand, while providing the physical protection and mounting security traditionally only available with dedicated action cameras. The magnetic mounting component provides vibration isolation that protects smartphone mics from mechanical noise, letting riders capture usable engine sound and commentary without expensive external microphone systems.
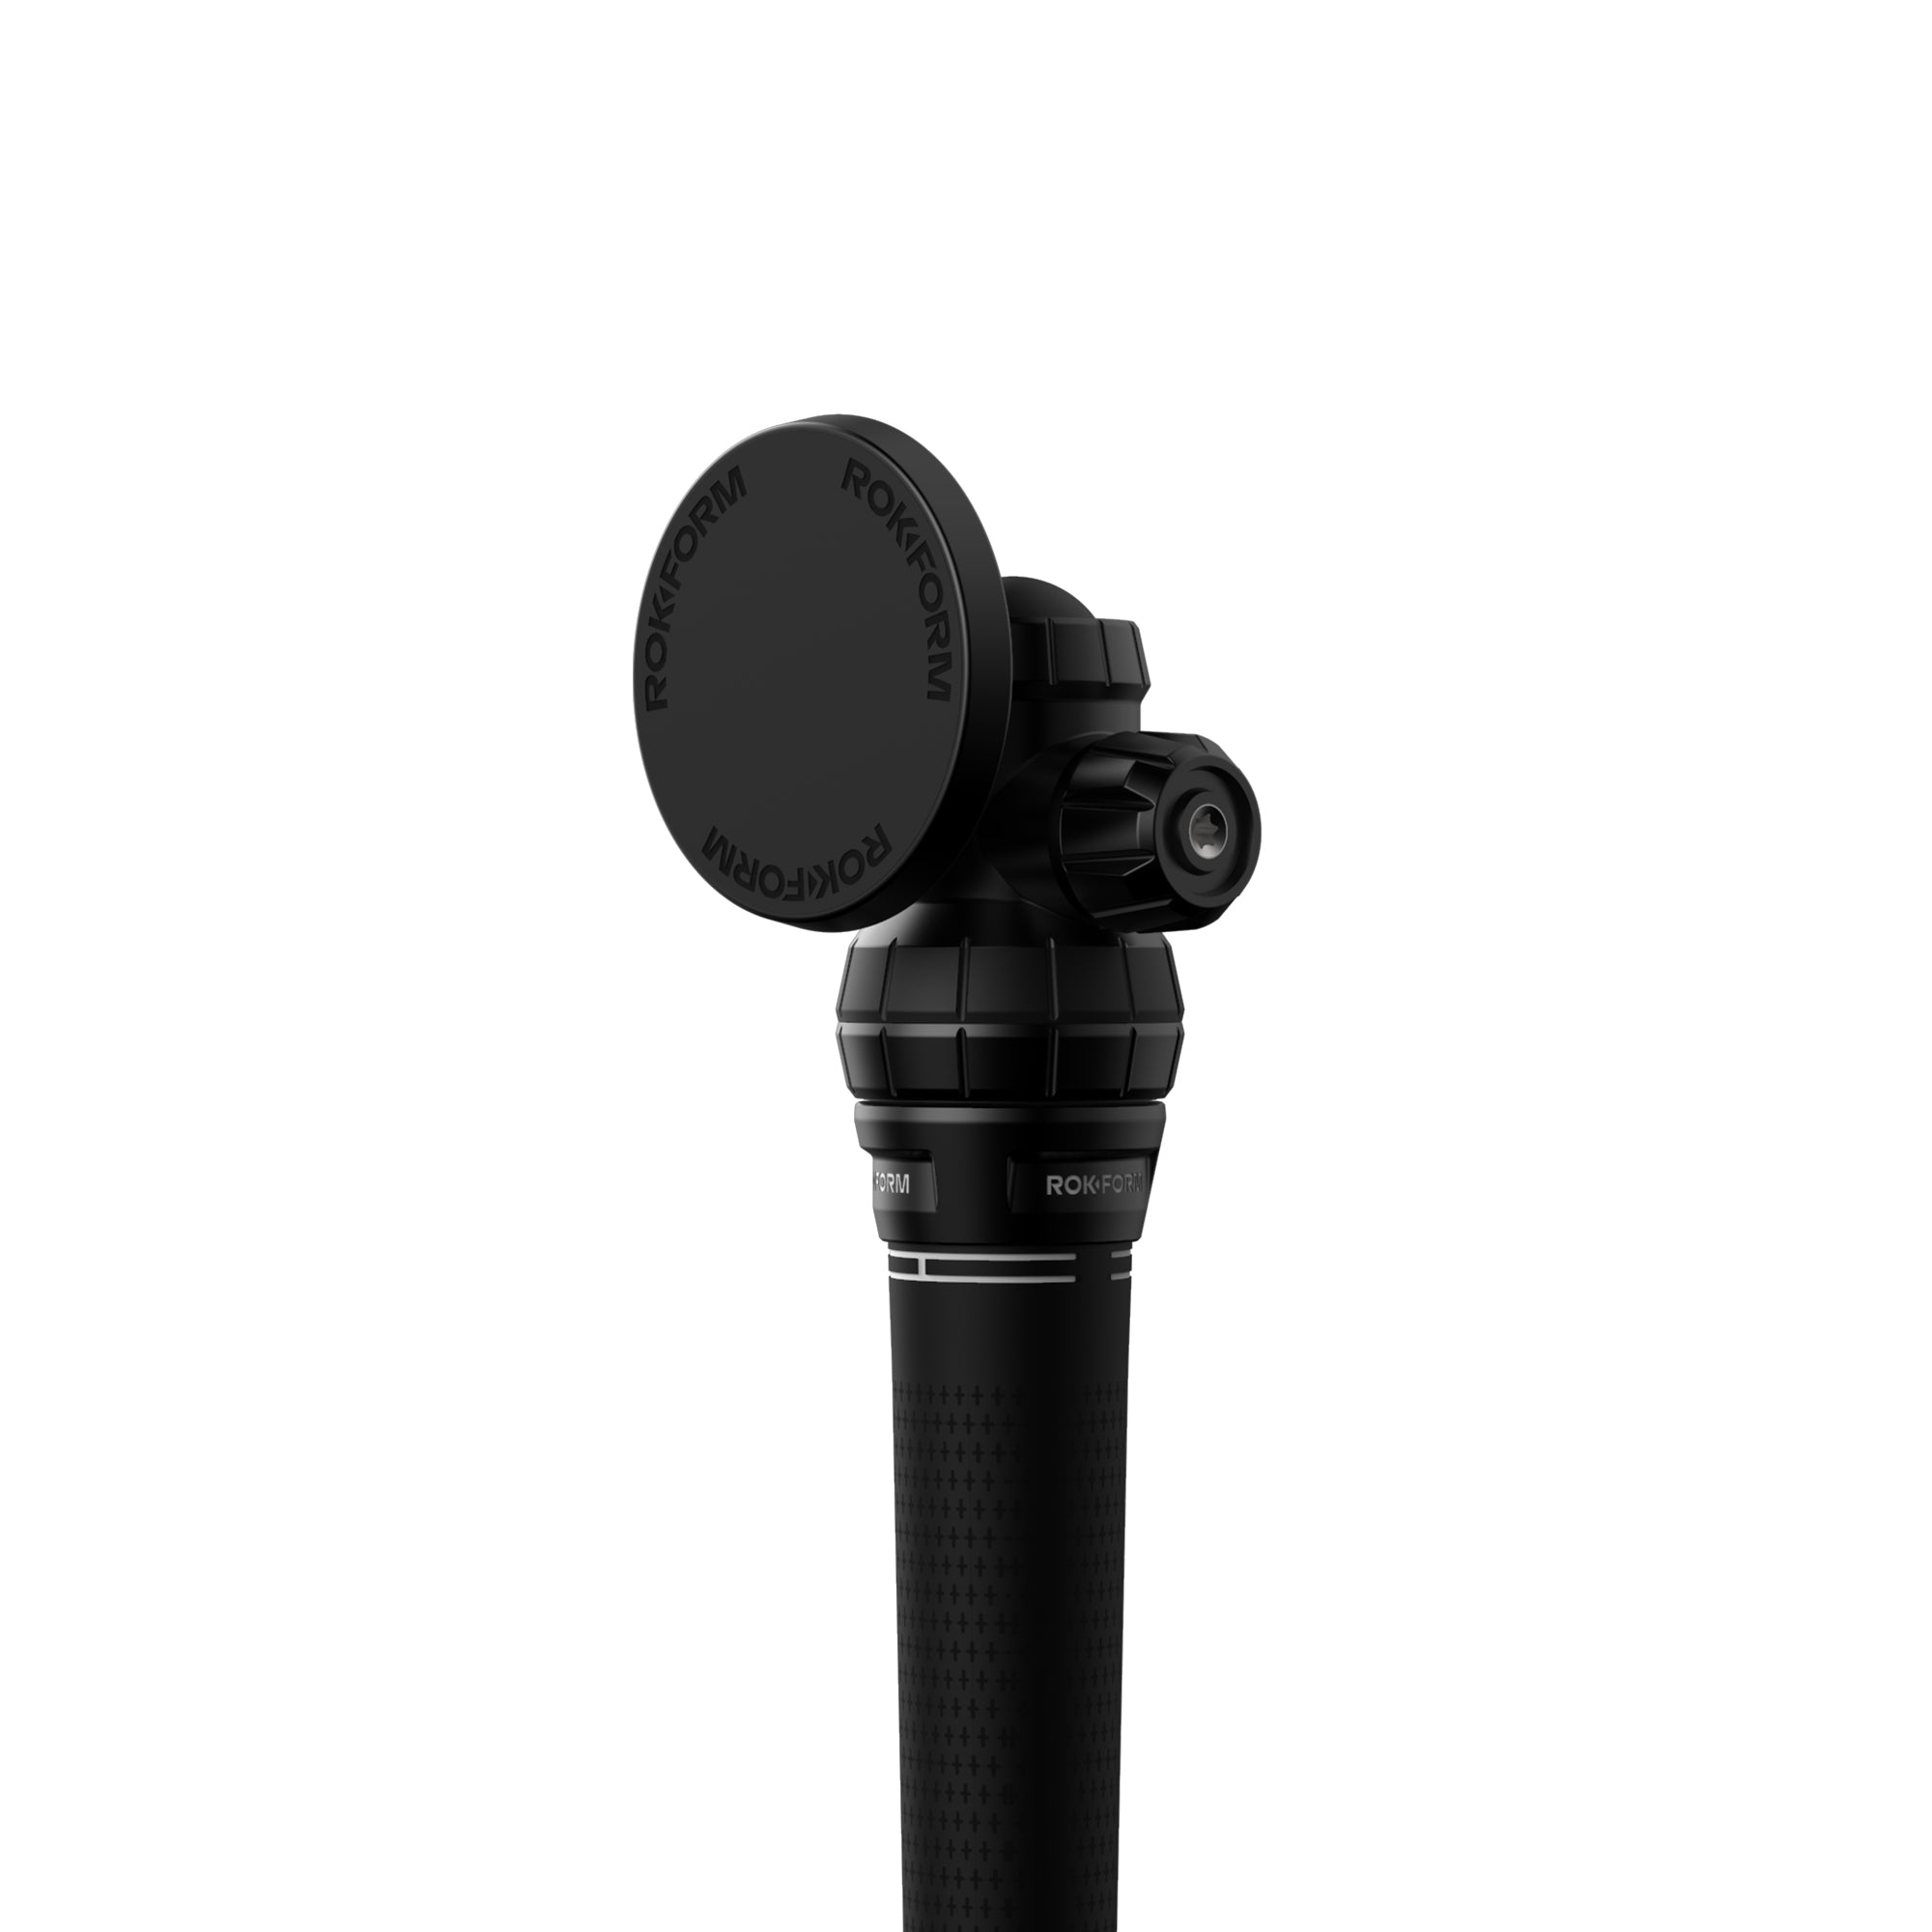
The Pro Ball motorcycle mount shows this integration approach perfectly, offering the adjustability needed for both navigation and recording while keeping the security required for high-speed riding.
Ready to upgrade your motorcycle camera game? Check out Rokform's complete mounting solutions and stop compromising between functionality and protection.
For riders wanting comprehensive protection, the wireless charging head integration makes sure your recording setup never runs out of juice during extended adventures.
Final Thoughts
Building the best camera for motorcycle setup isn't about buying the most expensive gear—it's about understanding how all the pieces work together. I've learned that the riders who create the most compelling content aren't necessarily the ones with the fanciest cameras, but those who've figured out the integration challenges that most people ignore.
The vibration, power management, audio, and legal stuff I've covered here might seem overwhelming at first, but tackling them one by one transforms your riding experience. You'll spend less time fighting with dead batteries and shaky footage, and more time capturing the moments that make motorcycle riding special.
Whether you're documenting epic road trips or just want insurance protection, taking the time to build a proper camera ecosystem pays off every time you twist the throttle. Your future self will thank you when everything just works, and you can focus on the ride instead of babysitting the technology.
What does this mean for you? Test your entire setup on a short ride before that cross-country trip. Your future self will thank you.