


Table of Contents
The Real Cost of Ignoring Roaming Settings (And What Your Carrier Isn't Telling You)
Why Pre-Trip Planning Saves More Than Money
Why Nobody Told You About eSIMs (And How They'll Save Your Ass)
WiFi Calling: The Feature You Already Have But Probably Aren't Using Right
Airplane Mode Isn't Just for Flights Anymore
The Download-Everything-First Strategy
How to Actually Use Google Maps Offline (Because Half-Downloaded Maps Don't Count)
Messaging Apps That Work Without Cell Service
The Airport SIM Card Trap (And When It's Actually Worth It)
Settings You Need to Change Before Your Plane Takes Off
What to Do If You Get Charged Anyway
Keeping Your Phone Secure and Accessible While You Travel
Too Long, Didn't Read Version
Your carrier makes more money when you're confused, so they keep international roaming deliberately complicated. The actual solution: eSIMs cost like $10-15 instead of $100+ in roaming charges. Turn on WiFi calling before you leave (test it at home first). Use airplane mode + WiFi to control what connects. Download your maps *completely*, not halfway. WhatsApp works on WiFi. Airport SIM cards are a scam. Change your settings before takeoff. If you still get charged? Fight it. They'll often credit you just to shut you up.
The Real Cost of Ignoring Roaming Settings (And What Your Carrier Isn't Telling You)
Let me tell you about my friend Emma. Got back from London last month after a week-long trip. Barely used her phone. Came home to a $340 bill.
She lost her mind. Called her carrier. They basically said "too bad, you used data in the UK, pay up."
Here's what actually happened: her iPhone's iCloud Photos was set to upload over cellular. Every night while she slept, it backed up the day's photos. She took like 800 photos that week. Her carrier charged $2 per megabyte.
Emma's not stupid. She's careful with money. She just didn't know her phone was doing this.
That's the game.
With 1.4 billion people traveling globally in 2024, carriers are making a killing off confused travelers who don't properly configure their devices before departure. The phone companies designed their international plans to confuse you. That's not paranoia, it's their business model. The average traveler who doesn't adjust settings before departure? They're looking at a few hundred bucks in unexpected charges, not from actively browsing social media or streaming video, but from background processes they don't even know are running.

The roaming situation got even messier after Brexit. According to recent analysis from Uswitch, UK networks slowly brought back EU roaming charges after January 1, 2021, when the UK lost the guarantee of free roaming in the 27 EU member states. Major carriers like Vodafone, EE, and Three now charge £2-2.47 per day for EU roaming. O2's the only major network offering inclusive EU roaming. This shows how fast carrier policies can change to maximize revenue, leaving travelers who don't stay informed vulnerable to surprise charges.
Carriers push their "daily international passes" hard because they sound reasonable. Ten bucks a day to use your phone just like home? Seems fair until you do the math. That's $70 for a week, $100 for ten days. Suddenly you've spent more on phone service than on your hotel.
These passes have catches: they throttle you after a certain amount of data, "day" might mean calendar day or 24 hours (which matters), and they auto-renew so you'll forget to cancel.
Here's the real deal: customer service reps earn incentives for selling these passes. When you call asking about international options, the day pass is always their first recommendation. Not because it's your best option, but because it's their most profitable one.
Background Data Is the Silent Bill Killer
Most travelers assume they're safe if they don't actively browse social media or stream video abroad.
That assumption'll cost you hundreds.
Your phone never stops. Email syncing, photo backups, app updates, social media refreshing, weather checking. All happening while you sleep. A single night with data roaming enabled can trigger 50-200MB of background usage. Depending on your carrier, that translates to $50-200 in charges while you're unconscious.
The financial impact of background data consumption is insane. According to EasySIM research, many mobile operators charge £6 per Megabyte for international data roaming, which works out to an eyewatering £6,000 per GB. A single app update or cloud photo backup session that eats 100MB could cost you £600 if you haven't disabled data roaming before landing in a foreign country.
Think about Sarah, a marketing manager who traveled to Paris for a weekend conference. She disabled her social media apps and promised herself she wouldn't browse unnecessarily. But she forgot about her iPhone's automatic iCloud Photos backup, which was set to upload whenever connected to a network. During her three-night stay, her phone uploaded 847 photos and videos from the previous month, eating 2.3GB of data. Her carrier charged $15 per MB for international data. The result? A $3,450 charge that showed up on her next bill. Sarah's mistake wasn't using her phone actively. It was failing to disable a background process she didn't even remember was running.
iCloud Photos uploading your dinner photos at $2/MB. Instagram preloading Stories you'll never watch. Your email app downloading attachments from messages you haven't opened. These aren't hypothetical scenarios. They're the exact processes draining your bank account while you're trying to enjoy your vacation.
The "but I have unlimited data at home" mindset will destroy you. That unlimited plan means absolutely nothing internationally. Carriers count on customers forgetting that distinction, and they profit enormously when you do.
The International Day Pass Illusion
Carriers market international day passes as traveler-friendly solutions.
The math tells a different story.
Carrier |
Daily Pass Cost |
Weekly Cost (7 days) |
Data Throttling |
Calendar vs 24-Hour Period |
|---|---|---|---|---|
Verizon |
$12/day |
$84 |
After 2GB/day |
Calendar day |
AT&T |
$12/day |
$84 |
After 1GB/day |
Calendar day |
T-Mobile (Go5G Plus) |
Included |
$0 |
5GB high-speed |
N/A |
T-Mobile (other plans) |
$5/day (512MB) |
$35 |
After 512MB |
24-hour period |
Notice how Verizon and AT&T both landed on $12/day? Yeah, that's not a coincidence.
These passes still throttle your speeds after certain thresholds. The definition of "day" varies by carrier. Some count by 24-hour periods, others by calendar days, which can cost you extra if you land at 11pm. That technicality alone has caught thousands of travelers off guard.
Mark booked a 10-day trip to Italy, landing at 10:30 PM on a Saturday night. His carrier's international day pass operated on calendar days, not 24-hour periods. When he turned on his phone to text his family that he'd arrived safely, it triggered his first day pass charge of $12. He used his phone for 90 minutes before going to sleep, then woke up Sunday morning to find a second $12 charge had been automatically applied. By the time he returned home, he'd been charged for 11 days instead of 10, costing him an extra $12 simply because of when his flight landed. An eSIM data plan for Italy would've cost him $18 total for unlimited data for the entire trip.
The "use your phone just like home" messaging is technically accurate but practically misleading. You can use your phone the same way, but you'll pay way more for the privilege, and the service quality often doesn't match what you get domestically.
Why Pre-Trip Planning Saves More Than Money
Look, most travel advice just tells you how to save money. That misses the point.
Travelers who over-restrict their phone settings to avoid charges often lose access to maps, translation apps, and communication tools exactly when they need them most. I'm not interested in helping you save a hundred bucks if it means you can't find your hotel, can't call for help in an emergency, or can't translate a menu.
The real win is maintaining full phone functionality abroad without financial consequences. That takes planning, but we're talking about 20-30 minutes of setup that saves hours of frustration and potentially hundreds of dollars in charges.
Before you travel, understanding how to protect your phone while traveling goes beyond just avoiding roaming charges. It includes physical security and data protection strategies.
Do These First (48 Hours Before Departure):
Check phone's eSIM compatibility (Settings > About > look for "Digital SIM" or "eSIM"). This is buried, takes a minute to find
Purchase and install eSIM for destination country
Enable WiFi calling in phone settings
Test WiFi calling by making a call over home WiFi
Download offline maps for destination cities
Download language translation packs
Screenshot important travel documents (boarding passes, hotel confirmations, emergency contacts)
Install WhatsApp and verify it works with key contacts
If You Remember:
Disable automatic app updates
Disable automatic cloud photo backup
Turn off background app refresh for non-essential apps
Set up VPN for secure public WiFi use
Notify bank and credit card companies of travel dates
Write down carrier customer service number (in case you need to dispute charges)
The Functionality vs. Cost Balance Nobody Talks About
Most international phone advice creates a false choice: use your phone and pay, or don't use your phone and save money.
There's a third option that carriers and even most travel blogs ignore: strategic setup that enables full functionality at minimal cost.
Travelers often disable too many features out of fear, then can't access their boarding pass, can't call their hotel, or can't find their Airbnb because they've bricked their phone. People act like wanting to use your phone abroad is entitled. It's not. You need maps and translation and the ability to call for help.

There are also safety implications. Having a non-functional phone in an unfamiliar country where you don't speak the language creates genuine risk. If you can't call emergency services, can't share your location with friends or family, or can't access critical information, you've traded financial savings for personal safety. That's not a trade worth making.
The strategies I'm covering give you both: full functionality and minimal cost. You'll use your phone more freely than travelers paying for expensive day passes because you've taken control of how and when your device connects.
Why Nobody Told You About eSIMs (And How They'll Save Your Ass)
eSIMs are legitimately useful and your carrier definitely hasn't mentioned them.
Why? Because they'd rather charge you $12/day for the "privilege" of using your own phone.
An eSIM (embedded SIM) is basically a digital SIM card. You buy a data plan for whatever country you're visiting, scan a QR code, done. No physical card to swap, no tiny tray to lose, no hunting for a phone shop when you land.
I've used them in six countries. They've worked every time. Cost me maybe $60 total. My carrier's day passes would've been $500+.
Most phones from 2019 onward support eSIM. iPhone XS and newer, Google Pixel 3 and newer, Samsung Galaxy S20 and newer. But carriers rarely advertise this because it undermines their international roaming revenue. They'd rather you didn't know this option exists.
The practical benefits are significant. You keep your home number active for calls and texts via WiFi while using affordable local data. No hunting for SIM card shops abroad. No risk of losing your physical SIM. No need to share your new "temporary number" with everyone.
The eSIM market has exploded in recent years, with providers expanding coverage and dropping prices. According to Tech.co's 2026 analysis, eSIM providers like Airalo, Nomad, and Holafly now offer data plans in over 190 countries, with some providers offering 20% discounts on plans. eSIMs have become particularly valuable for businesses, with Google Voice emerging as a top choice for companies needing international connectivity due to its integration with Google Workspace and competitive international rates starting at $0.01 per minute to countries like the UK and Australia.
How to Set Up eSIM Before You Leave
The process for buying and activating an eSIM is simpler than most app downloads.
I recommend Airalo, Holafly, and Nomad. Some offer pure data plans (you'll use WiFi calling for actual calls), others include local phone numbers. Pricing varies by region.
Here's the actual setup: buy the plan online, get a QR code via email, scan it in your phone's settings, label the new plan (something like "Italy Data"), and choose which line to use for data versus calls.
Do this at home while connected to WiFi. Not at the airport in a panic.
The installation takes about five minutes, and you can verify everything works before you leave. You can also delete the eSIM anytime. Adding one won't mess up your regular service.
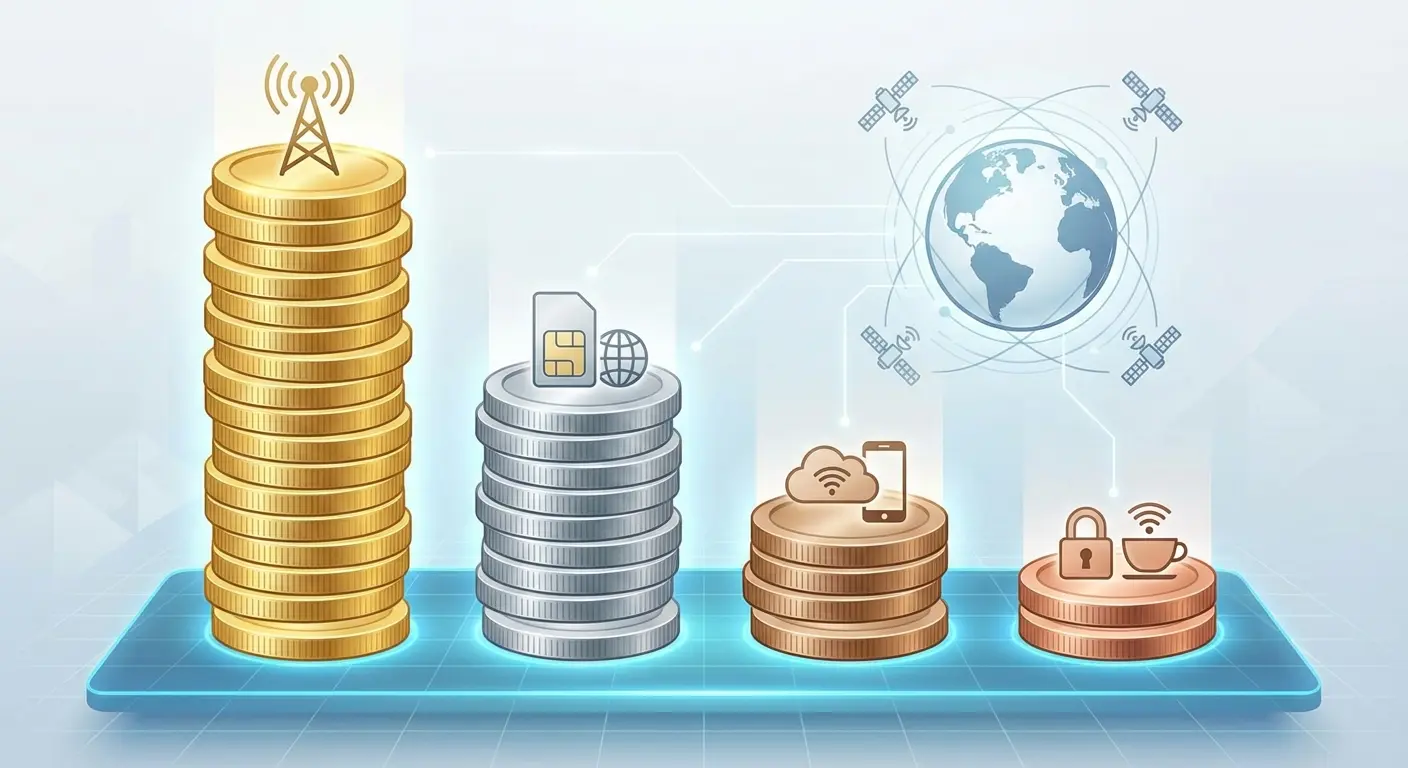
What eSIM Actually Costs (Spoiler: Way Less Than You Think)
A typical eSIM data plan runs $5-15 for a week of data in most countries, compared to $70-100 for carrier day passes or $200+ in roaming charges. Real examples: 3GB for seven days in Europe for $12, 5GB for ten days in Japan for $18, unlimited data in Mexico for $8. DestinationeSIM Cost (7 days)Carrier Day Pass (7 days)Traditional Roaming (Est.)Savings with eSIMEurope$12 (3GB)$84$150-300$72-288Japan$18 (5GB)$84$200-350$66-332Mexico$8 (unlimited)$42-84$100-200$34-192Australia$15 (5GB)$84$175-300$69-285Thailand$10 (3GB)$84$150-250$74-240 These are data-only. No voice minutes. Doesn't matter. WiFi calling and WhatsApp handle that. Most travelers use way less data than they expect because they're connected to WiFi at hotels, restaurants, and attractions throughout the day. You can also top up instantly through the app if you run out, and most providers let you purchase additional data at reasonable rates.
WiFi Calling: The Feature You Already Have But Probably Aren't Using Right
WiFi calling is already on your phone and you're probably not using it.
It lets you make regular calls over any WiFi connection. Your hotel, a cafe, whatever. The person you're calling sees your normal number. The call quality is usually better than cellular.
WiFi calling isn't a separate app or service. It's a native feature that carriers provide (sometimes reluctantly) and that works with your existing phone number. This feature isn't more widely known because carriers don't promote it heavily. It reduces network load they've invested billions building, and it enables exactly the kind of charge-free international use we're discussing.
Enabling WiFi Calling Before Your Trip
Turn it on NOW, before your trip.
Some carriers require your first WiFi call to happen on their home network. Test it: airplane mode on, WiFi on, call someone. If it works, you're set.
For iPhone users, it's in Settings > Phone > WiFi Calling, with a toggle to enable it and an option to prefer WiFi over cellular. For Android, it's usually Settings > Network & Internet > Mobile Network > WiFi Calling, though Samsung and other manufacturers sometimes move it around.
The "WiFi Calling on This iPhone" option lets you route calls through your iPhone even when you're using your iPad or Mac, which has international implications. You can answer calls on any device connected to WiFi, giving you multiple ways to stay reachable.
Some carriers, particularly prepaid services, don't support WiFi calling. Verify your eligibility before you rely on this feature.
The WiFi Calling Catch You Need to Know About
There's one big limitation of WiFi calling that trips up travelers: calls to numbers in the country you're visiting may still get you international calling charges, even though you're physically in that country.
The technical reason? Your call routes through your home country's network first. So calling your hotel in Paris from Paris via WiFi calling still counts as an international call on your bill.
The workaround is straightforward: use messaging apps with calling features for local calls, or purchase a small amount of local calling credit through your eSIM provider.
WiFi calling works perfectly for calls back home or to other US numbers. Just remember that geography doesn't determine the charges. Your home network does.
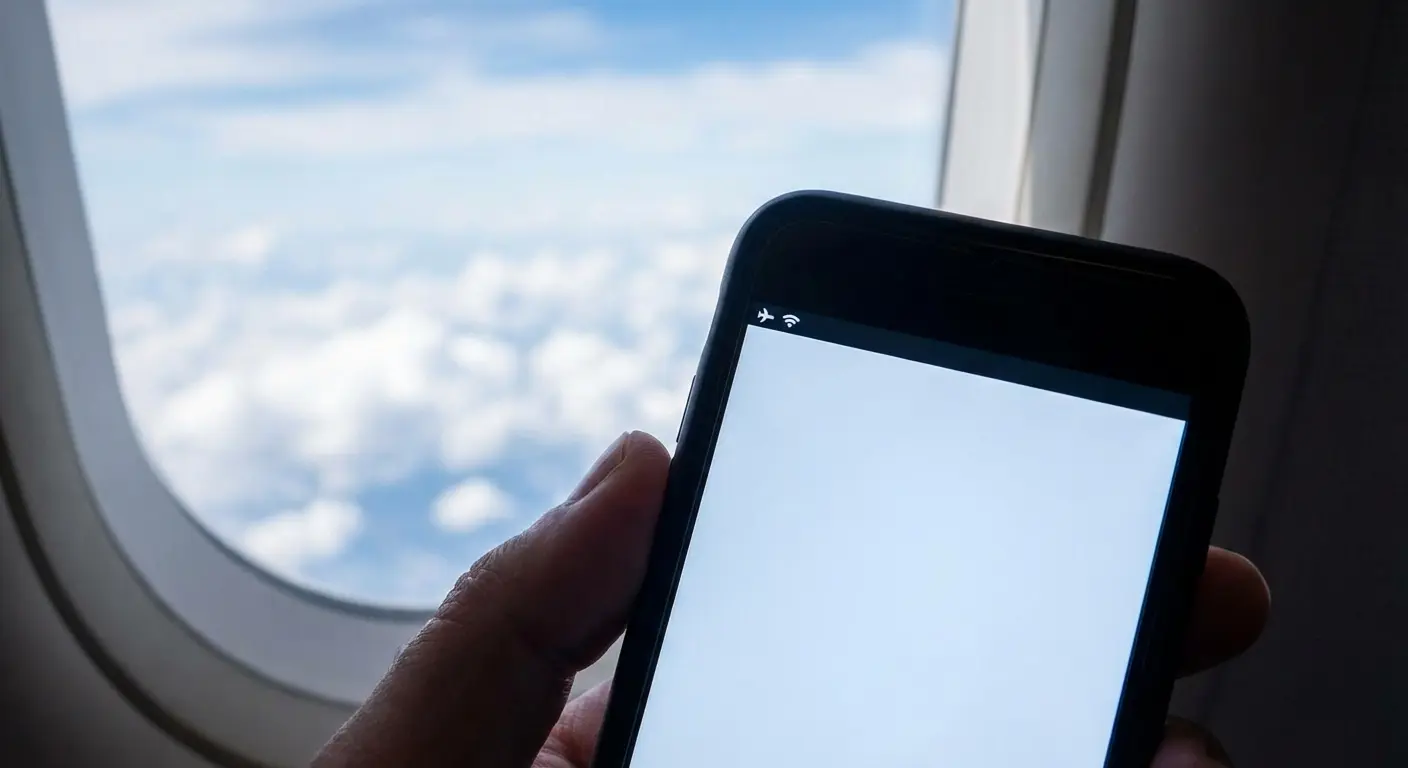
Airplane Mode Isn't Just for Flights Anymore
I'm reframing airplane mode as a precision tool for international phone use, not just a regulatory requirement during takeoff.
Airplane mode disables all wireless connections (cellular, WiFi, Bluetooth), but you can selectively re-enable WiFi and Bluetooth while keeping cellular radios off.
This creates a "safe mode" for international travel where your phone can't accidentally connect to foreign cell towers and rack up charges, but you maintain full functionality through WiFi. The strategy works brilliantly in cities with abundant WiFi (cafes, hotels, attractions) but needs more planning in rural areas.
Bonus: airplane mode with WiFi enabled drains battery slower than full cellular operation. That's huge for long sightseeing days when you need your phone to last from breakfast through dinner.
The Airplane Mode + WiFi Strategy
Enable airplane mode, then manually turn WiFi back on.
On iPhone, swipe down from top right for Control Center and tap WiFi. On Android, swipe down and tap WiFi. Your phone will automatically connect to known networks (your hotel) and you can connect to new networks as needed.
Won't you miss calls and texts?
With WiFi calling enabled, you'll still receive calls and iMessages or WhatsApp messages. You just won't get traditional SMS texts until you connect to WiFi. Check WiFi periodically throughout the day to sync messages rather than staying connected constantly. This maximizes battery life and minimizes the temptation to over-use your phone.
Jessica, a freelance photographer, spent two weeks in Barcelona using exclusively the airplane mode + WiFi strategy. Each morning, she'd enable airplane mode at her Airbnb, then turn WiFi back on to download her day's itinerary and check messages. Throughout the day, she'd connect to WiFi at cafes during meal breaks (Spain has exceptional free WiFi coverage in restaurants). Her phone's GPS worked perfectly for offline Google Maps navigation between WiFi spots. She made WiFi calls to her family back in Minnesota every evening from her accommodation, and used WhatsApp to coordinate with local tour guides. Her total phone-related costs for the entire trip: $12 for an eSIM she used twice when she needed real-time information in areas without WiFi. She saved around $168 compared to what her carrier's day pass would've cost.
When Airplane Mode Isn't Enough
Some scenarios exist where airplane mode alone doesn't prevent charges. Specifically when apps have cached cellular permissions or when WiFi networks have hidden costs.
Some hotel and airport WiFi networks charge for access, which isn't a roaming charge but is still a surprise cost. Check before connecting.
There's also the rare but real scenario where some apps continue attempting cellular connections even in airplane mode due to bugs or aggressive coding. Check your phone's cellular data usage stats before and after your trip to verify no data leaked through. You'll find these stats at Settings > Cellular > scroll to bottom for current period on iPhone, or Settings > Network & Internet > Data usage on Android.
The Download-Everything-First Strategy
Pre-loading your phone with every piece of content you might need transforms it from a device that requires connectivity into a self-contained travel tool.
Most travelers underestimate how much they can download in advance: entire map regions, language translation databases, entertainment, travel documents, and restaurant recommendations.
Think of this as creating a digital travel kit that works anywhere regardless of connectivity. This strategy pairs perfectly with the other tactics. You use downloaded content most of the time, connect to WiFi occasionally for real-time updates. The peace of mind alone justifies the 30 minutes of downloading.
This approach works whether you're using eSIM, WiFi-only, or even if you decide to pay for a carrier day pass. You'll use less data and get more value.
Apps That Support Offline Mode (And How to Use Them)
Major apps offer robust offline functionality, but you need to know how to properly enable it.
Google Maps lets you download specific map regions. Google Translate downloads language packs for instant camera translation. Spotify and Apple Music download playlists and podcasts. Netflix and other streaming apps download shows and movies. Kindle or Apple Books download reading material.
The download process isn't always intuitive. Google Maps requires you to search for a location, tap the name at bottom, then select Download. These downloads happen over WiFi at home, so they don't count against any data plan.
Check your available storage space before downloading 15GB of content. Nothing's worse than running out of space mid-download and having to choose what to delete.
Essential Downloads for Offline Travel
Navigation & Maps:
Google Maps: Download all destination city regions (tap profile > Offline maps > Select your own map)
Citymapper: Download city transit maps if available in your destination
Maps.me: Backup offline map app with hiking trails
Translation & Communication:
Google Translate: Download language packs for destination language (tap profile > Downloaded languages)
iTranslate or Microsoft Translator: Backup translation app with offline dictionaries
Entertainment (for flights and downtime):
Spotify/Apple Music: Download 3-5 playlists (8-10 hours of music)
Netflix/Amazon Prime: Download 2-3 movies or 4-6 episodes
Kindle/Apple Books: Download 2-3 books
Podcasts: Download 10-15 episodes of favorite shows
Travel Documents:
Screenshots of: boarding passes, hotel confirmations, rental car reservations, tour bookings, travel insurance policy, passport photo page, emergency contact numbers
PDF downloads of: itinerary, restaurant reservations, attraction tickets
Utilities:
Currency converter app with offline rates
Weather app data for destination
Trail or hiking apps (AllTrails+) with downloaded routes
How to Actually Use Google Maps Offline (Because Half-Downloaded Maps Don't Count)
Google Maps is the most critical travel app, and its offline mode is frequently misunderstood and misused.
Google Maps allows you to download entire regions (cities, states, countries) for offline use, but the process has specific requirements and limitations you need to understand.
Offline maps include full navigation, business information, and reviews, but not real-time traffic or transit schedules (which require connectivity). The download must complete fully before you lose connectivity.
I cannot stress this enough: verify completion. The map area should show a checkmark and no longer say "downloading."
When navigating unfamiliar roads abroad, having the best car phone mounts ensures your offline maps stay visible and accessible without taking your hands off the wheel.
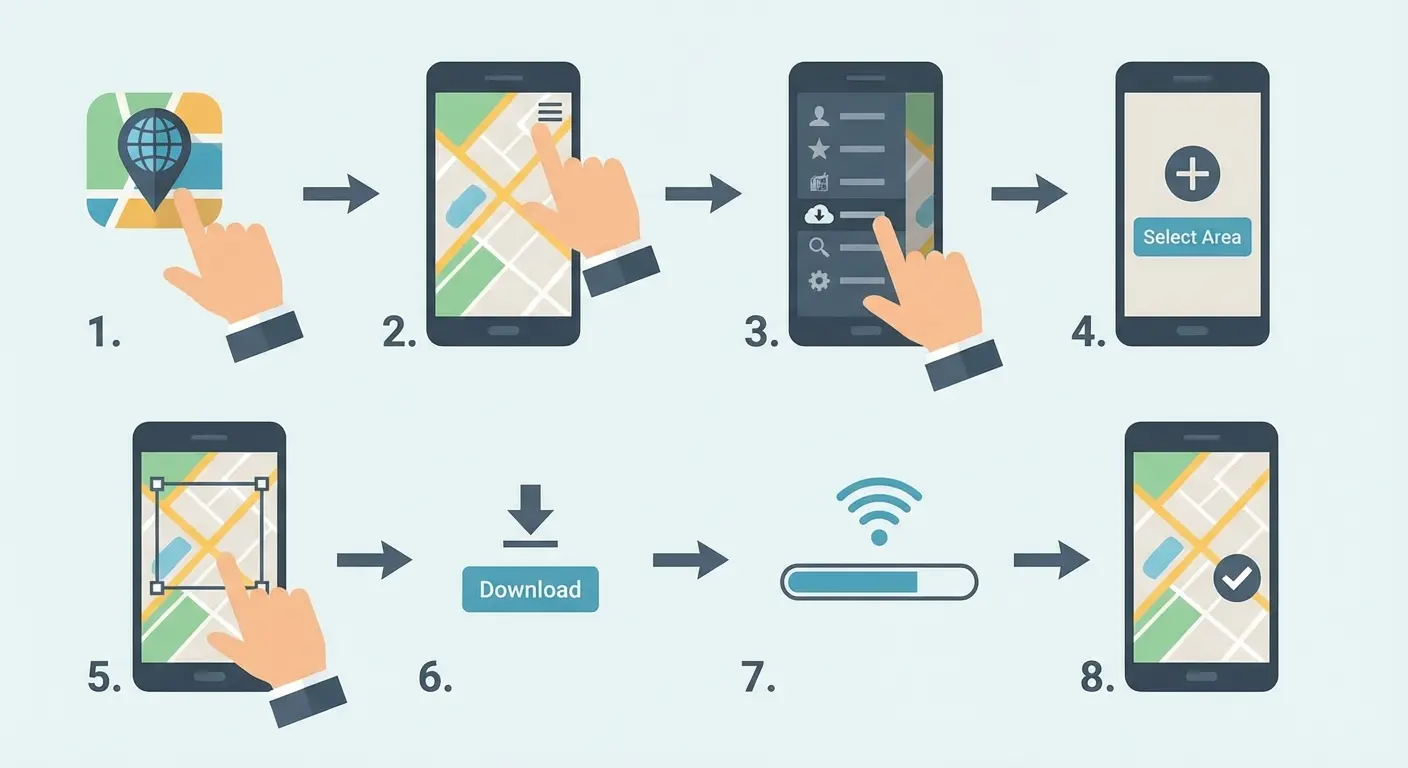
The Right Way to Download Maps
Open Google Maps, tap your profile icon, select Offline Maps, tap "Select your own map," then zoom and pan to frame the area you need. You can see the size limit boundary. Tap Download and wait for completion while connected to WiFi.
Download slightly larger areas than you think you need because you can't expand the map once you're offline.
I recommend downloading your arrival airport, your accommodation neighborhood, any day-trip destinations, and the route between them.
Downloaded maps expire after 30 days to keep data current. You can set them to auto-update over WiFi. You can also download multiple regions, so a multi-city trip requires multiple downloads.
What Works Offline vs. What Doesn't
What works: navigation (driving, walking), business locations, phone numbers, hours, reviews, and starred locations.
What doesn't work: real-time traffic, transit directions (buses, trains), ride-sharing integration (Uber/Lyft), and searching for new locations by name. You can only navigate to places already visible on your downloaded map.
Workarounds for the limitations: screenshot transit schedules before your trip, save important locations as favorites while you have connectivity, and use WiFi periodically to refresh real-time information when needed.
Messaging Apps That Work Without Cell Service
SMS and traditional text messaging become expensive or non-functional internationally, but modern messaging apps operate entirely over WiFi or data and cost nothing beyond your internet connection.
Apps like WhatsApp, iMessage, Signal, Telegram, and Facebook Messenger work identically whether you're on cellular data or WiFi.
Most of the world uses WhatsApp as their primary communication tool, unlike the US where SMS still dominates. Downloading it before your trip isn't just about saving money, it's about being able to communicate with locals, tour operators, and accommodation hosts.
The common confusion about iMessage: blue bubbles work over internet, green SMS bubbles don't. Make sure your messages route correctly by verifying iMessage is enabled in Settings > Messages.
Setting Up Messaging Apps Before Departure
Download and verify these apps while still at home.
WhatsApp requires phone number verification via SMS, which is why you can't wait until you're abroad with cellular disabled to set it up.
Download WhatsApp, verify your number, and immediately test it with a contact to ensure it works. Signal has a similar setup process. iMessage should already work if you're an iPhone user, but verify in Settings > Messages that iMessage is enabled and that your phone number and email are listed correctly.
Install these apps on any tablets or laptops you're bringing since they sync across devices and provide backup communication methods.
Getting Your Contacts to Actually Use These Apps
Messaging apps only work if the people you need to reach also have them installed.
Send a message to key contacts (family, travel companions, important work contacts) a week before departure explaining that you'll be reachable via WhatsApp or iMessage but not SMS.
Pre-Travel Contact Notification Template:
"Hi! I'm traveling to [destination] from [dates] and won't have regular cell service. I'll be reachable via WhatsApp/iMessage on WiFi throughout my trip. If you need to reach me urgently, please message me through WhatsApp ([your phone number]) rather than regular text. I'll check messages a few times daily. For true emergencies, contact [backup person/hotel name and number]. Looking forward to sharing photos when I'm back!"
You can also use these apps to message businesses abroad. Many hotels and restaurants list WhatsApp numbers on their websites. The app will show you which of your existing contacts already use the platform.
The Airport SIM Card Trap (And When It's Actually Worth It)
Airport SIM card kiosks charge 3-5x more than purchasing the same carrier's SIM card at a store in the city.
They target exhausted, confused travelers who don't know better options exist.
Typical airport pricing runs $50-80 for a week of data versus city store pricing of $15-25 for the same service versus eSIM pricing of $8-15. Airport vendors use psychological tactics: prominent placement right after customs, aggressive salespeople, and deliberately confusing plan options.
Side note: airport SIM cards are such a scam it almost makes me respect the hustle. Almost.
However, if you failed to plan ahead, need a local phone number immediately for a specific purpose, or are traveling somewhere eSIM infrastructure doesn't exist, airport SIM cards serve as expensive but functional backup options.
If You Must Buy at the Airport, Do This
Ask for the previous-generation plan that's often cheaper and perfectly adequate.
Verify the SIM works before leaving the kiosk. Make a test call, open a browser.
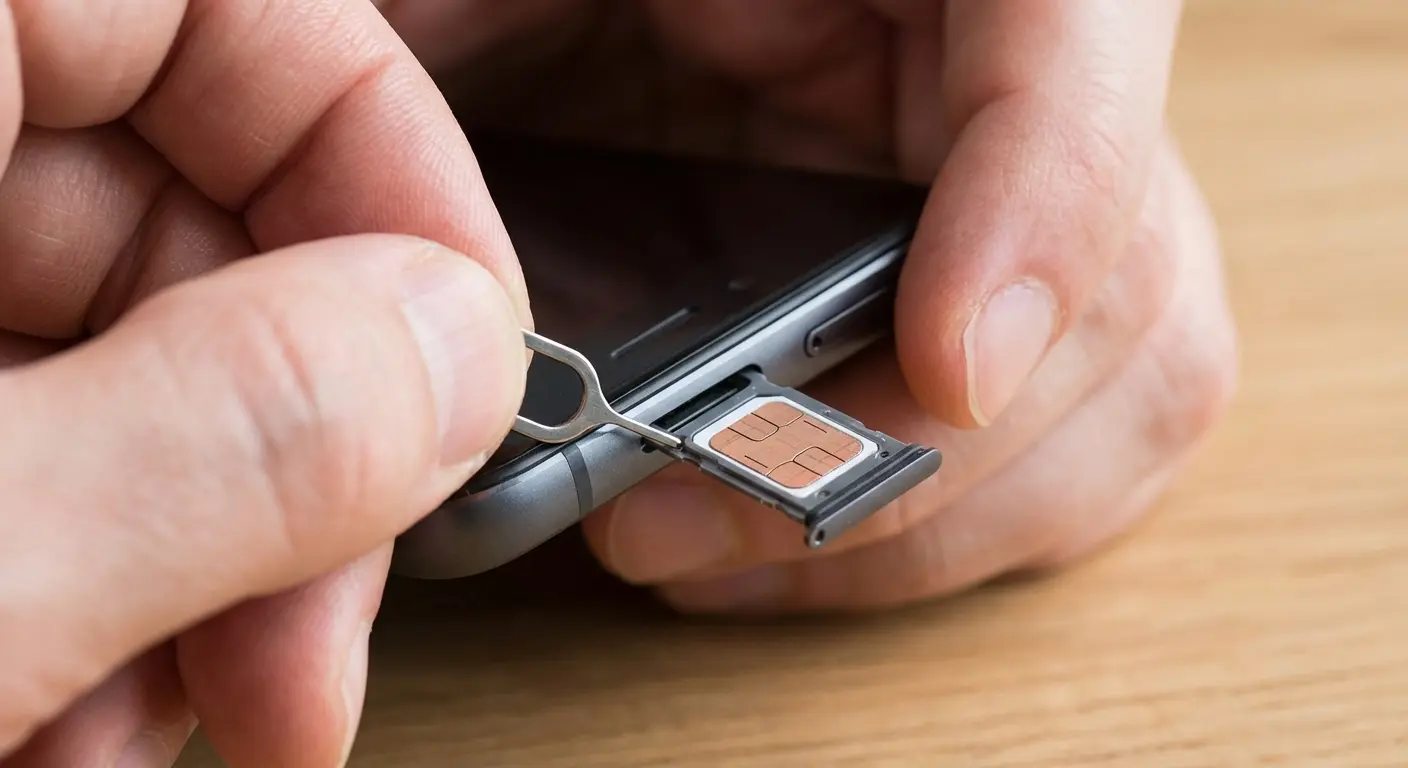
Keep your original SIM card safe by taking a photo of it and storing it in your phone case or passport holder.
The physical SIM swap process: locate your SIM tray (usually on the side of your phone), use the ejector tool or a paperclip to pop it open, note which direction the SIM card faces, swap cards, and restart your phone. Label which SIM is which if you're storing both.
Settings You Need to Change Before Your Plane Takes Off
This is the lockdown sequence that takes 10 minutes but prevents hours of post-trip customer service calls.
These settings exist in scattered locations across your phone's menu system. By design, not accident. Manufacturers and carriers benefit from users not knowing they exist.
I'm organizing settings into three categories: critical (will definitely cause charges), important (might cause charges depending on usage), and optional (improves experience but won't cost money).
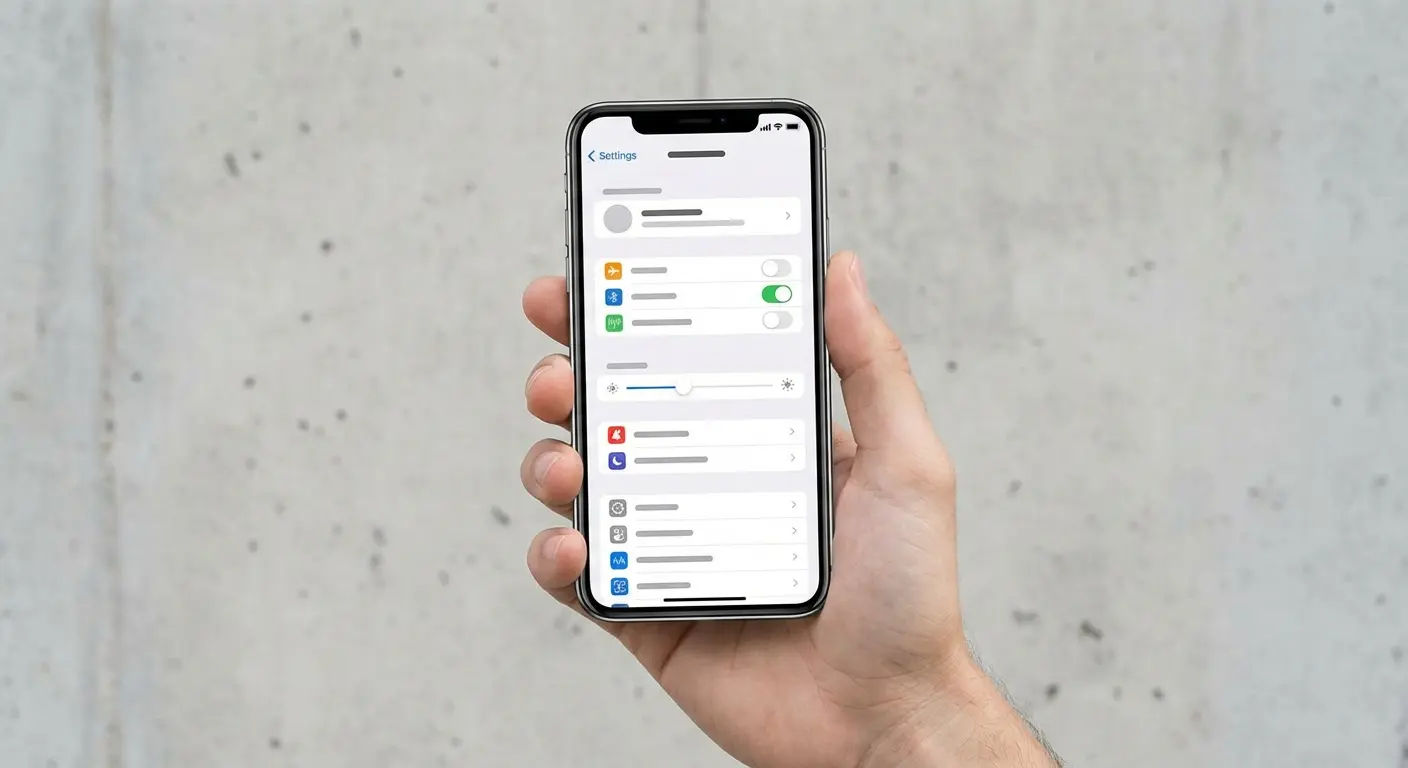
Critical Settings That Will Cost You Money
First: Disable data roaming.
iPhone: Settings > Cellular > Cellular Data Options > Data Roaming Off.
Android: Settings > Network & Internet > Mobile Network > Roaming > Off.
Second: Disable automatic app updates.
iPhone: Settings > App Store > App Updates Off.
Android: Play Store > Settings > Auto-update apps > Don't auto-update.
Third: Disable automatic downloads.
iPhone: Settings > App Store > disable all automatic downloads.
Android: Settings > Network preferences > Auto-download over WiFi only.
Fourth: Turn off background app refresh for all but essential apps.
iPhone: Settings > General > Background App Refresh > select WiFi only or disable entirely.
Android: Settings > Apps > select individual apps > Data usage > Background data Off.
Each of these settings represents a potential leak that can drain megabytes or gigabytes without you touching your phone.
Settings That Improve Your Experience Abroad
Disable automatic photo and video backup to cloud services (iCloud Photos, Google Photos) and set them to WiFi-only at minimum.
Review which apps have location permissions and disable any that don't need it. This saves battery and prevents apps from waking up and using data when you move.
Disable cellular data access for specific apps you know you won't need. Social media apps if you're taking a digital detox, games, news apps. Go into cellular settings and toggle them off individually.
Enable Low Power Mode (iPhone) or Battery Saver (Android) which automatically restricts background activity and extends battery life during long travel days.
What to Do If You Get Charged Anyway
Despite best efforts, charges sometimes appear.
You have more recourse than you realize.
Carriers often reverse or reduce international roaming charges if you contact them quickly, document your prevention efforts, and remain persistent. This is a winnable battle, not a lost cause. There's a difference between legitimate charges (you actually used roaming data), technical errors (your phone connected despite settings), and billing mistakes (carrier system glitches).
The squeaky wheel gets the grease with carrier customer service. Most first-tier representatives have authority to credit up to $100-200 without supervisor approval.
Building Your Dispute Case
Before your trip, take screenshots of your settings showing data roaming disabled, airplane mode enabled, and WiFi-only configurations.
During your trip, note any times you deliberately enabled cellular service and for what purpose.
After your trip, screenshot your phone's cellular data usage stats showing minimal or zero usage during travel dates.
This documentation proves you took reasonable precautions and that any charges resulted from technical issues, not user error.
Sample script for the customer service call: "I traveled to [country] from [dates], disabled data roaming before departure as shown in these screenshots, and my phone's usage stats show [X] MB of data during that period. I'm requesting a courtesy credit for these charges as I took appropriate precautions."
Positioning it as a "courtesy credit" rather than demanding they remove "fraudulent charges" gets better results.

When to Escalate and How
When the first customer service rep denies your dispute, here's the escalation path: ask for a supervisor, reference the carrier's own international travel tips (which recommend the same settings you used), mention that you're considering switching carriers if they can't resolve this, and if necessary, file a complaint with the FCC (which carriers take seriously).
Supervisors have more credit authority. Persistence pays off. Many travelers give up after the first denial but succeed on the second or third attempt.
Social media complaints (Twitter/X, Facebook) often get faster responses because they're public and carriers monitor these channels closely. Remain calm and professional throughout. Angry customers get worse outcomes than disappointed ones.
Keeping Your Phone Secure and Accessible While You Travel
If your phone is now your primary navigation, communication, payment, and documentation tool abroad, losing it or having it stolen becomes catastrophic.
Travelers who successfully avoid roaming charges by using their phones strategically actually increase their phone dependency, making secure mounting and carrying solutions more critical than ever.
Phones get lost or damaged abroad in specific scenarios: pickpocketing in crowded tourist areas, dropping while taking photos at viewpoints, leaving on restaurant tables or in rideshares, and screen damage from falls. This is the overlooked final step in international phone preparation.
For motorcycle travelers exploring international routes, securing your device with the best motorcycle phone mount ensures your navigation stays visible through winding roads and varying weather conditions.
Real talk: I dropped my phone off a scooter in Bali and the screen shattered. $280 to fix. Now I use one of those magnetic mount cases (Rokform makes good ones) that stick to rental car dashboards. Sounds excessive until you're navigating Rome's one-way streets with offline maps and can't afford to have your phone slide off the seat.
You've optimized your phone's settings and saved hundreds on roaming charges, but that value evaporates the moment your phone slips from your hand at a scenic overlook or disappears from your table at a cafe. Their cases work with magnetic mounts you can attach to rental car dashboards (crucial when you're navigating unfamiliar roads using offline maps), bike handlebars (for those European city cycling tours), or even your belt (hands-free security in pickpocket-heavy areas). The rugged protection means your screen survives the inevitable drops that happen when you're juggling luggage, tickets, and trying to photograph that perfect moment.
Whether you're traveling for business or pleasure, having the best travel accessories ensures your devices stay protected, charged, and accessible throughout your journey.
Final Thoughts
This is a lot of information. I know.
But here's the thing: you do this once, figure out what works for you, and then every trip after is easy. I spent maybe 30 minutes setting this up before my first international trip. Saved me over $200 on that trip alone. Now it takes me five minutes because I know my system.
Your carrier's betting you won't bother. They're counting on you to just pay the $12/day because it's easier than learning this stuff.
Don't let them win.
If you only do three things from this entire post:
Buy an eSIM (Airalo's fine, costs like $12)
Turn on WiFi calling and test it before you leave
Download your maps completely
That's it. That covers 90% of what you need. Everything else is optimization.
Test this at home first. Turn on airplane mode for a day. Try the offline maps in your own city. Build confidence before you actually need it.
And if you still get charged? Fight it. They reverse charges more often than you'd think, especially if you can prove you tried to prevent it.
Your phone should make travel easier, not expensive. Now you know how to do that.

