


Table of Contents
Why Your VPN Isn't Actually Protecting You
The Kill Switch Problem Nobody Talks About
Setting Up Your VPN the Right Way (iOS vs Android)
Split Tunneling: The Feature You're Probably Ignoring
Battery Drain Myths and Real Solutions
When Your VPN Is Making Things Worse
The Public WiFi Trap Most Guides Miss
DNS Leaks and Why They Matter More Than You Think
App-Level Permissions That Undermine Your VPN
Speed Issues: Troubleshooting Beyond "Pick a Closer Server"
The Rokform Connection
Final Thoughts
TL;DR
Your VPN's default settings leave you exposed in ways the app never mentions
Kill switches fail during network transitions, DNS leaks are everywhere, and app permissions bypass your VPN entirely
This guide fixes the configuration mistakes that actually matter
Why Your VPN Isn't Actually Protecting You
The Installation Trap
You downloaded the app. Tapped "Connect." The little VPN icon showed up in your status bar, and you figured... okay, I'm good.
That's where most mobile VPN guides end, and it's exactly where your actual security problems begin.
Installing a VPN app doesn't automatically route all your traffic through an encrypted tunnel. Shocking, right? The app sits there, looking official, while half your data leaks around it. Your phone's operating system, your individual apps, and even your carrier settings can all create exceptions that leak data outside your VPN connection. I've tested dozens of popular VPN configurations, and the default settings almost never provide the protection users think they're getting. Research from Australia's Commonwealth Scientific and Industrial Research Organisation reveals that 75 percent of Android VPN apps use third-party tracking libraries. Yeah. The privacy tool is tracking you.
Look, VPN tech is fine. The real issue? Your phone's OS was never built for this. iOS and Android both treat VPNs like an afterthought, bolted on later with duct tape and hope. The result is a mess of edge cases that'll bite you when you least expect it. Understanding how to use a VPN on your phone properly requires going beyond the basic installation process to configure system-level settings that nobody ever mentions during setup.
What "Connected" Actually Means
Your VPN status might show connected while your DNS requests go straight to your ISP.
Your location services? Bypassing the tunnel entirely.
Background app refresh could be using your real IP address.
These aren't theoretical vulnerabilities. These are defaults on both iOS and Android that you won't discover until you run a leak test (which you probably never do). The visual confirmation of a VPN connection tells you almost nothing about whether your data is protected. You need to verify what's happening at the network level, not just trust the interface.
According to recent analysis from Bitdefender, research estimates that around 1.75 billion people worldwide use a VPN in 2025, representing roughly one-third of all internet users. Most of them think they're protected. Most of them are wrong. Your VPN doesn't disable GPS tracking, stop app-based tracking, or block system-level data collection. Your VPN icon sits there in the status bar, looking reassuring, while half your apps are broadcasting your location and behavior to anyone who's paying attention.
The Kill Switch Problem Nobody Talks About
When Protection Disappears
Kill switches are supposed to block all internet traffic if your VPN connection drops.
In practice? They fail constantly.
Network transitions break them every time. When you move from WiFi to cellular, or between cell towers, or when your phone wakes from sleep mode, there's a brief window where traffic flows unprotected before the kill switch engages. Some apps handle these transitions better than others, but none of them are perfect.
You won't get a notification when this happens. Your phone won't alert you that it just sent a dozen requests using your real IP address. The VPN icon might even stay visible in your status bar while the actual tunnel is reconnecting.
Testing Your Kill Switch
Here's how to actually test if your kill switch works:
Turn on airplane mode while connected. Wait 5 seconds. Turn it off. Now immediately (and I mean immediately) open your browser before the VPN reconnects.
If a page loads? Your kill switch failed.
Do this again when switching WiFi networks. Then test WiFi to cellular. Check your VPN's connection log for gaps (if it even has one... another reason to pick a better app if yours doesn't). Document which transitions cause failures and report to your provider.
I've done this test on every major VPN app. More than half fail during at least one transition type.
The only reliable solution is configuring your VPN at the system level, which we'll cover in the next section. Even that isn't foolproof on all devices, but it's way better than relying on app-level kill switches that fail during the transitions when you're most vulnerable.
Setting Up Your VPN the Right Way (iOS vs Android)
When learning how to use your phone without service or WiFi, proper VPN configuration becomes even more critical for maintaining security during network transitions.
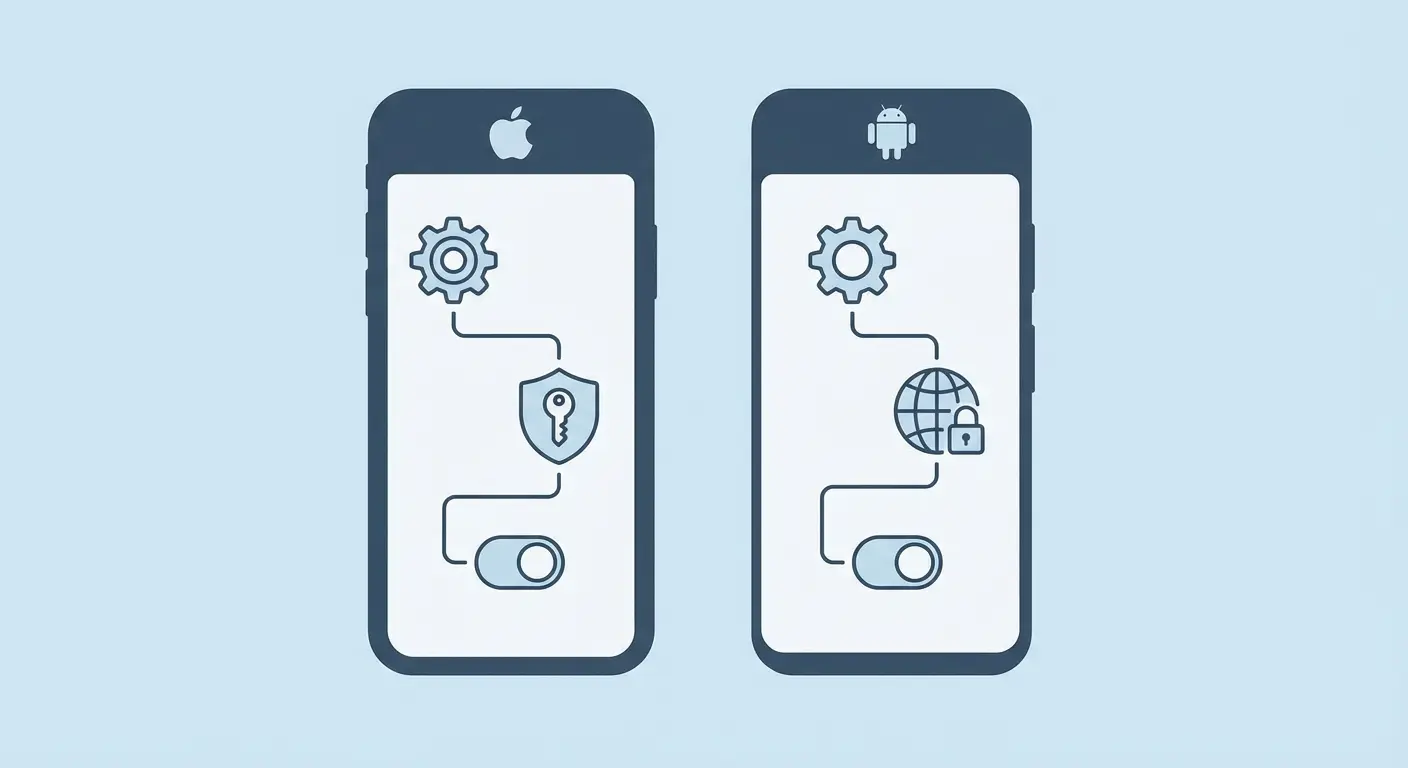
iOS System-Level Configuration
You need to install your VPN profile through Settings, not just the app. Go to Settings > General > VPN & Device Management, and make sure your VPN is configured as an "Always-on VPN" if your provider supports it.
This isn't the same as just leaving the app connected. System-level configuration ensures the VPN initializes before other network services, reducing those vulnerable moments during boot-up and network transitions. Enable "Connect On Demand" for your VPN profile. This forces iOS to establish the VPN connection before allowing other traffic, which is as close to a reliable kill switch as you'll get on mobile.
Get this: Engadget recently reported that the days are gone when Apple users had to be content with inferior VPN options. In 2026, all the best VPN services have secure, user-friendly iOS apps on par with every other platform. But proper configuration at the system level remains critical for actual protection, regardless of how polished the app interface looks. Learning how to use a VPN on your phone effectively means understanding these system-level iOS settings that nobody ever accesses.
Android's Per-App VPN Controls
Android gives you more granular control but requires more manual configuration. Go to Settings > Network & Internet > VPN, select your VPN, and enable "Always-on VPN" and "Block connections without VPN."
These settings are crucial given that 82 percent of Android VPN apps request permissions to access user accounts or texts, creating potential data leakage points even when your VPN appears active. These are separate toggles, and you need both enabled. "Always-on" keeps the connection active, but without "Block connections without VPN," your traffic can still leak during disconnections.
Android also lets you specify which apps use the VPN and which don't, directly in the system settings. This is more reliable than in-app split tunneling because it's enforced at the OS level.
Setting |
Location |
Purpose |
Why It Matters |
|---|---|---|---|
Always-on VPN |
Settings > Network & Internet > VPN |
Maintains constant connection |
Prevents gaps during network transitions |
Block connections without VPN |
Same location, separate toggle |
Enforces kill switch at OS level |
Stops traffic leaks if VPN drops |
Per-app VPN controls |
VPN settings > App permissions |
Choose which apps use VPN |
More reliable than in-app split tunneling |
Private DNS |
Settings > Network & Internet > Private DNS |
Controls DNS routing |
Prevents DNS leaks that bypass VPN |
The Private DNS Setting
Both iOS and Android have private DNS settings that can bypass your VPN's DNS servers entirely. On Android, go to Settings > Network & Internet > Private DNS and set it to "Off" when using a VPN.
On iOS, check Settings > General > VPN & Device Management for any DNS profiles that might override your VPN's DNS configuration. Remove them or disable them while your VPN is active. This is one of the most common sources of DNS leaks, and most VPN apps never mention it during setup.
Split Tunneling: The Feature You're Probably Ignoring
Why You Need It
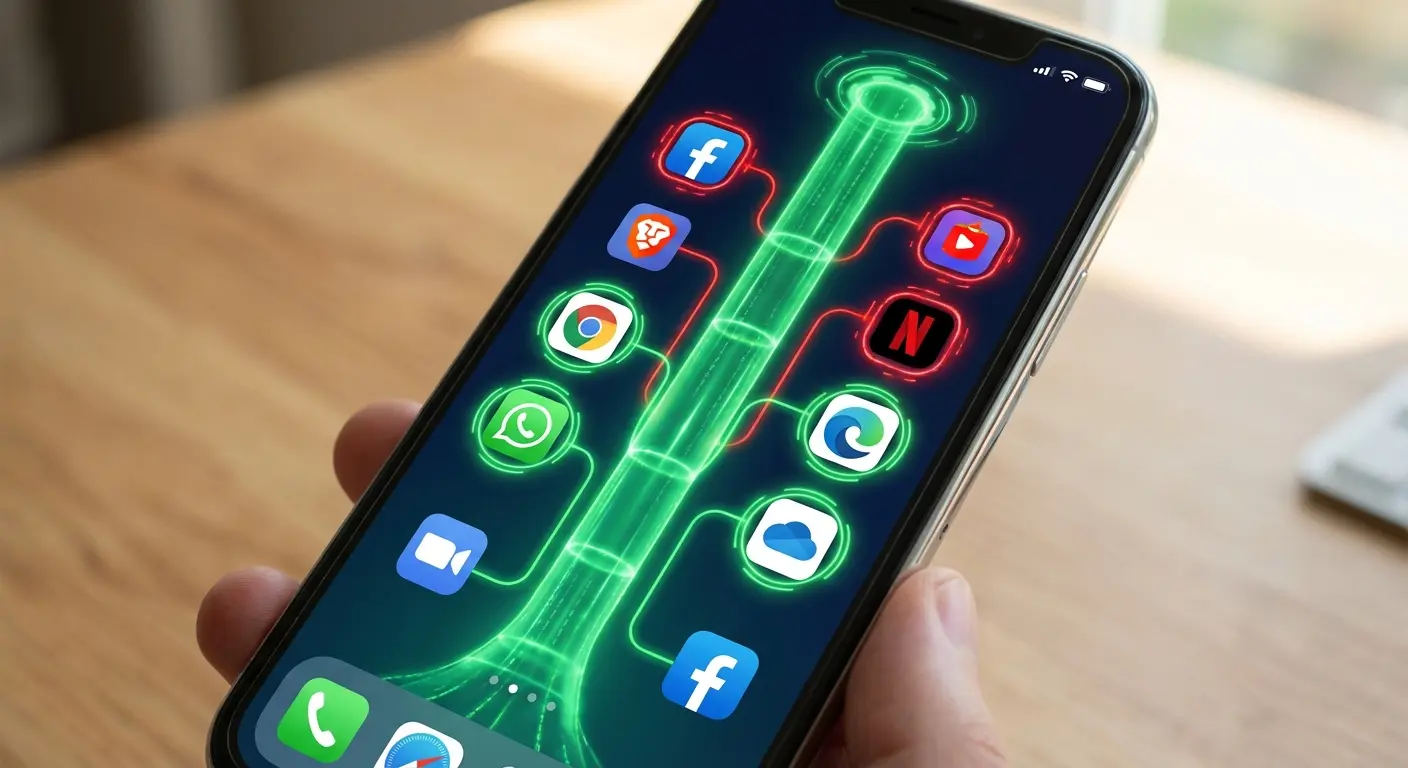
Split tunneling lets you choose which apps use the VPN and which connect directly. Most people ignore this feature because they assume routing everything through the VPN is more secure.
That assumption costs you battery life, speed, and sometimes functionality, without providing additional security for apps that don't need it.
Your banking app already encrypts everything. Your weather app doesn't transmit anything sensitive. Your Spotify stream doesn't need to bounce through a VPN server in Switzerland. You're burning battery and bandwidth for zero security benefit.
Strategic Exclusions
Exclude local network apps first. Your smart home controls, network printers, and casting devices need to see your real local IP address to function. Routing them through a VPN breaks the connection without adding any security value.
Consider a typical morning: you wake up, check your smart thermostat app to adjust the temperature, cast a workout video to your TV via Chromecast, and then print your boarding pass for an afternoon flight. If all three apps are routed through your VPN, the thermostat app can't find your device on the local network, the Chromecast connection fails repeatedly, and your printer appears offline. By excluding these local network apps from your VPN tunnel, they function normally while your email, browser, and messaging apps remain protected.
Exclude apps with strong DRM. Netflix, Hulu, sports streaming. These services block VPN traffic constantly. Your app tries to connect, gets blocked, tries again, gets blocked... this cycle murders your battery while you sit there wondering why your phone's dying.
Keep your sensitive apps in the tunnel. Email, messaging, browsers, and anything that transmits personal information should always use the VPN. Social media apps depend on your threat model, but generally benefit from VPN protection.
The Battery Life Connection
A VPN encrypts and decrypts every packet of data your phone sends and receives. When you're streaming high-bandwidth content that doesn't need protection, you're wasting processing power and battery life on unnecessary encryption.
Split tunneling can extend your battery life by 20-30% while maintaining security for the apps that matter. That's not a small difference when you're away from a charger all day. You're not weakening your security by being selective. You're optimizing resource usage while protecting what needs protection.
Battery Drain Myths and Real Solutions
Protocol Selection Matters More Than Server Distance
Everyone tells you to pick a nearby server to reduce battery drain. That helps, but your VPN protocol choice has a much bigger impact.
OpenVPN is reliable but power-hungry. WireGuard uses way less battery while often providing better speeds. IKEv2 offers a good balance and handles network transitions better than OpenVPN.
If your VPN provider doesn't let you change protocols, that's a red flag. They're cutting corners. If they don't offer WireGuard in 2025, they're behind.
Protocol |
Battery Impact |
Speed |
Network Transition Handling |
Best Use Case |
|---|---|---|---|---|
OpenVPN |
High drain |
Moderate |
Poor during switches |
Maximum compatibility needed |
WireGuard |
Low drain |
Fast |
Good |
Daily mobile use, battery conservation |
IKEv2 |
Moderate drain |
Fast |
Excellent |
Frequent network switching (WiFi to cellular) |
L2TP/IPSec |
Moderate-High drain |
Slow |
Poor |
Legacy systems only |

Check your VPN app's protocol settings (usually under Advanced or Connection settings). If you're using OpenVPN by default and your provider supports WireGuard, switch immediately. You'll notice the difference within a few hours.
Background Refresh Is Your Enemy
Your VPN doesn't drain your battery. Your dozens of apps constantly syncing data through your VPN drain your battery.
Go through your app settings and disable background refresh for anything that doesn't need real-time updates. Your VPN has to encrypt every single background sync, notification check, and data refresh, even when your screen is off. This is especially important for apps you've excluded from split tunneling. If they're using the VPN, they should only be syncing when you're actively using them.
When Your VPN Is Making Things Worse
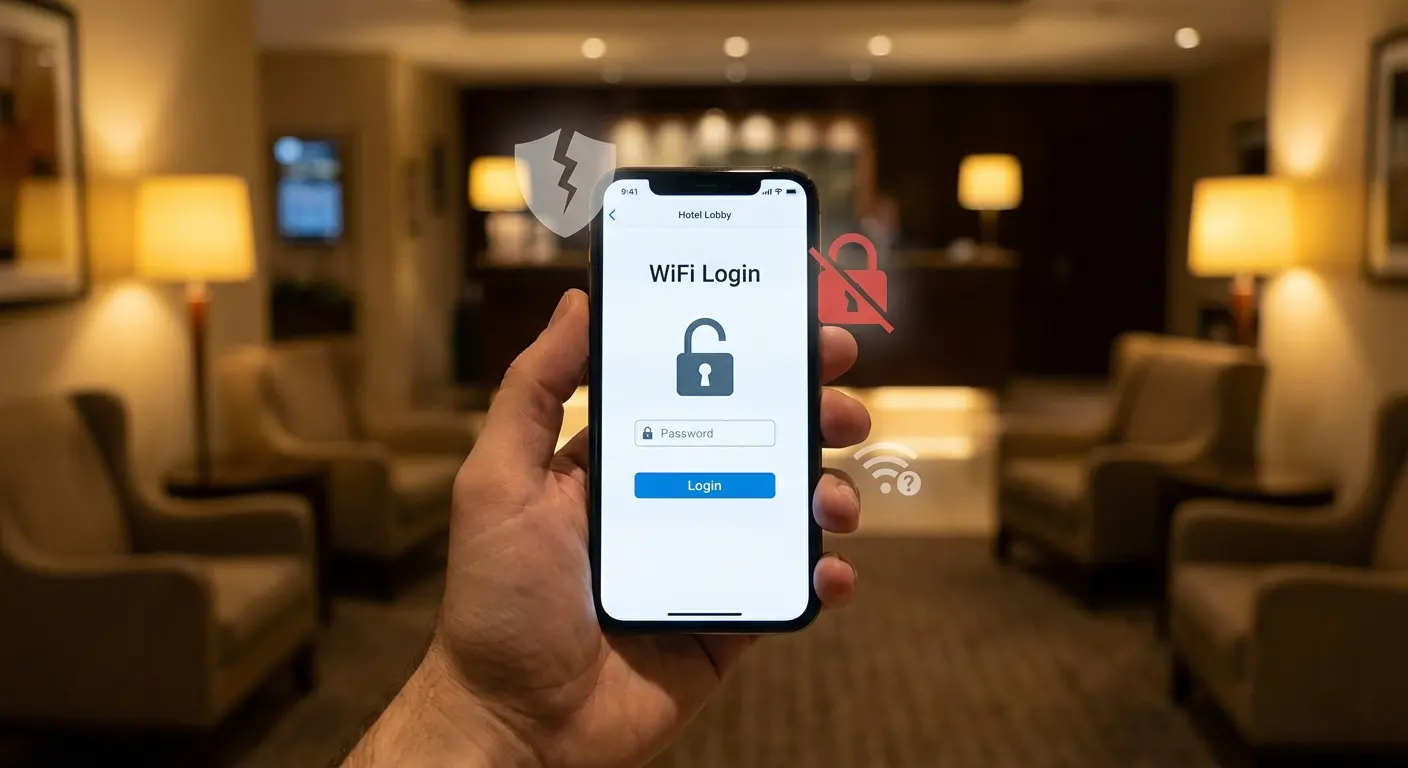
The Captive Portal Problem
Public WiFi networks with login pages (captive portals) won't work properly with an active VPN. The portal needs to see your real device to authenticate, but your VPN is hiding it.
You have to disable your VPN, complete the login, then re-enable it. During that window, you're completely exposed on an untrusted network. Some VPN apps try to detect captive portals automatically, but this feature is inconsistent.
Picture this: You arrive at a hotel after a long flight, connect to the lobby WiFi, and try to check your email. Nothing loads. You open your browser and still see nothing. No login page, no error message, just blank screens. Your VPN is blocking the captive portal that needs to authenticate your device. You disable the VPN, the hotel's login page immediately appears, you enter your room number and last name, then frantically re-enable your VPN. For those 45 seconds, every device on that network could potentially see your traffic, including the authentication tokens your email app tried to send the moment you connected.
The better approach is configuring your VPN to exclude the specific authentication domains used by captive portals while keeping everything else protected. This requires manual configuration and varies by network, which is why most people just disable their VPN entirely.
Geolocation Services Break Down
Maps, ride-sharing apps, and location-based services struggle when your IP address says you're in one city but your GPS says you're in another. Some apps handle this gracefully. Others just fail.
You'll see this most with delivery apps, local search results, and anything that uses both IP geolocation and GPS simultaneously. The app gets conflicting signals and either picks the wrong one or refuses to work at all. Split tunneling solves this for specific apps, but you're making a tradeoff between functionality and privacy. There's no perfect solution, just informed choices about which apps you trust with your real location data.
The Public WiFi Trap Most Guides Miss
Understanding how to protect your phone while traveling extends beyond VPN configuration to include physical security and network awareness when connecting to unfamiliar networks.
Auto-Connect Is a Vulnerability
Your phone's WiFi settings probably auto-connect to known networks. When you're using a VPN, this creates a dangerous race condition.
Your phone connects to the network, then tries to establish the VPN connection. During that gap (even if it's only a few seconds) your traffic is completely exposed. On a malicious public WiFi network, that's enough time for an attacker to intercept authentication tokens or session cookies.
Disable auto-connect for all public networks. Manually connect, verify your VPN is active, then start using apps. It's inconvenient, but it's the only way to ensure you're protected from the moment you join the network.
The Evil Twin Attack
Attackers set up fake WiFi access points with names identical to legitimate public networks. Your phone can't tell the difference, connects automatically, and suddenly you're routing all your traffic through a malicious network.
Even with a VPN, you're vulnerable during that initial connection phase. The attacker can't see your encrypted traffic, but they can see which services you're connecting to, capture DNS requests if your VPN hasn't established yet, and potentially perform SSL stripping attacks.
Here's what actually works:
Before connecting:
Disable WiFi auto-connect in your phone settings
Enable your VPN and verify it's connected
Close all apps that might try to sync immediately
When connecting:
Verify the network name with staff (ask for exact spelling and capitalization)
Manually select the network from your WiFi list
Wait for VPN to reconnect before opening any apps
After connecting:
Run a quick DNS leak test in your browser
Verify your VPN icon shows active connection
Check your IP address matches your VPN server location
For sensitive transactions:
Use mobile data instead of public WiFi whenever possible
Enable two-factor authentication for all accounts
Monitor account activity for 24-48 hours after using public networks
The solution isn't just using a VPN. It's disabling auto-connect, verifying network names with staff before connecting, and using mobile data for sensitive transactions whenever possible. Your VPN is part of a defense strategy, not a complete solution.

DNS Leaks and Why They Matter More Than You Think
What Your DNS Requests Reveal
Every website you visit requires a DNS lookup to translate the domain name into an IP address. If those lookups bypass your VPN, your ISP (or whoever runs the network you're on) can see every site you're visiting, even if the actual traffic is encrypted.
DNS leaks are incredibly common on mobile devices. Your phone might use your carrier's DNS servers, Google's public DNS, or whatever DNS server the WiFi network provides, completely bypassing your VPN's DNS protection. This isn't theoretical. I've tested popular VPN apps on both iOS and Android, and more than half leaked DNS requests in default configurations.
Testing and Fixing DNS Leaks
Use a DNS leak test website. Search "DNS leak test" in your browser while connected to your VPN. The results should only show DNS servers belonging to your VPN provider. If you see your ISP's servers, Google's servers, or anything else, you have a leak.
On Android, disable Private DNS in your system settings as mentioned earlier. On iOS, remove any DNS configuration profiles. Then check your VPN app's settings for a "Use VPN DNS" or similar option and make sure it's enabled.

Some VPN providers offer their own DNS servers specifically for leak protection. Use them. Don't rely on third-party DNS services (even privacy-focused ones) when you're using a VPN, because they create another potential leak point.
App-Level Permissions That Undermine Your VPN
Location Services Bypass Everything
Apps with location permissions can determine your real location regardless of what your VPN says your IP address is. This seems obvious for GPS, but many apps also use WiFi network names, Bluetooth beacons, and cell tower IDs to pinpoint your location.
Your VPN can't hide this information because it's not transmitted over the internet. It's collected locally by your phone's sensors and sent directly by the app.
A social media app on your phone requests location permissions "to show you local events." You grant it, thinking your VPN will mask your actual location. You post a photo from your favorite coffee shop while connected to a VPN server in another state. The app still knows exactly where you are. It's reading your GPS coordinates, the WiFi network name "Downtown Coffee Co.," and nearby Bluetooth beacons from retail stores. Your VPN shows you're in Seattle, but the app's metadata reveals you're in Austin. This location data gets stored in the app's database and potentially sold to data brokers, completely bypassing your VPN's protection.
Review location permissions regularly. Any app that doesn't need your precise location should be set to "While Using" or "Never." This won't stop all location tracking, but it reduces the amount of real-world location data apps can collect and correlate with your online activity.
The Advertising ID Problem
Both iOS and Android assign your device an advertising ID that apps use to track you across different services. This ID doesn't change when you connect to a VPN, so advertisers can still build a profile of your behavior even if they can't see your real IP address.
On iOS, go to Settings > Privacy > Tracking and disable "Allow Apps to Request to Track." On Android, go to Settings > Privacy > Ads and select "Delete advertising ID." This doesn't make you anonymous, but it breaks one of the most common cross-app tracking mechanisms that VPNs can't protect against.
Speed Issues: Troubleshooting Beyond "Pick a Closer Server"
Protocol Mismatches Cause Throttling
Your VPN might be using a protocol that your network actively throttles. Some ISPs and mobile carriers deprioritize OpenVPN traffic, for example, because it's commonly associated with high-bandwidth usage.
Try switching protocols within your VPN app. If OpenVPN is slow, test IKEv2 or WireGuard. If UDP connections are getting throttled, try TCP (though it's usually slower under normal conditions). The fastest protocol varies by network. What works great on your home WiFi might be terrible on your cellular connection. You need to test each protocol on each network you regularly use.
MTU Settings Nobody Explains
Maximum Transmission Unit (MTU) size determines how much data can be sent in a single packet. VPN encryption adds overhead, so your effective MTU is smaller than your network's actual MTU.
If your VPN's MTU is set too high, packets get fragmented and reassembled, which destroys your speed. If it's set too low, you're sending more packets than necessary, which also reduces throughput. Most VPN apps auto-configure MTU, but sometimes they get it wrong.

If you're experiencing slow speeds despite a good connection, try manually adjusting MTU in your VPN's advanced settings. Start at 1400 and adjust up or down in increments of 50 until you find the sweet spot.
Server Load Matters More Than Distance
A nearby server that's overloaded will always be slower than a distant server with available capacity. Most VPN apps show server locations but not current load.
If your VPN app offers load information (usually as a percentage or color-coded indicator), use it. A server at 80% capacity that's 100 miles away will outperform a server at 95% capacity that's 10 miles away. Connect during off-peak hours when possible, and have backup server options configured. When your primary server is slow, you want to be able to switch instantly without digging through settings.
The Rokform Connection
For those constantly on the move, secure car mounts ensure your phone stays accessible while maintaining VPN connections during commutes and road trips.
Mounting Solutions for Secure Usage
Real talk: I'm partnering with Rokform on this piece, but here's why it's relevant.
You're way more likely to disable your VPN when accessing your phone is a pain in the ass. I've watched people do it constantly. "Just for a minute while I'm driving." That minute turns into your whole commute.
Rokform's magnetic mounting system lets you dock and undock your phone instantly without cases that interfere with signal strength or add bulk. When you're moving between your car, your desk, and your bike, maintaining an active VPN connection becomes seamless rather than something you toggle off "just for a minute."
Whether you need a reliable bike mount for navigation or motorcycle phone mounts that withstand vibration, keeping your device secure and visible means you're less likely to compromise security for convenience. That minute often turns into hours of unprotected browsing. Removing friction from phone access removes the temptation to disable security features for accessibility.
This isn't about selling you shit. It's about removing friction that causes people to compromise their security.
Final Thoughts
Using a VPN on your phone isn't complicated, but it requires more than installing an app and tapping connect. The default settings leave you exposed in ways that most guides never address.
You need to configure kill switches properly, test for DNS leaks, adjust app permissions, and understand when your VPN is protecting you versus when it's just giving you false confidence. That VPN icon in your status bar? Tells you almost nothing about what's happening at the network level.
Split tunneling isn't a compromise. It's a strategic decision that improves battery life and performance while maintaining security where it matters. Your weather app doesn't need military-grade encryption, but your email absolutely does. Protocol selection, MTU settings, and system-level configuration make more difference than server location ever will. These aren't advanced features reserved for technical users. They're essential settings that should be part of every mobile VPN setup.
Just as you need to understand how to protect your phone from being hacked, proper VPN configuration is a fundamental layer of mobile security that works in conjunction with other protective measures.
Public WiFi remains dangerous even with a VPN if you're auto-connecting to networks or ignoring captive portal vulnerabilities. Your VPN protects your data in transit, but it can't protect you from connecting to malicious networks in the first place.
Can a VPN make you perfectly anonymous? Hell no. Your phone leaks identifying info in dozens of ways. But that's not the point. The point is stopping ISP surveillance, public WiFi attacks, and the casual tracking that follows you everywhere. That's achievable.
A properly configured mobile VPN stops those threats. A poorly configured one? Just drains your battery while giving you security theater. All performance, no protection.
Test your setup. Verify your kill switch works. Check for DNS leaks. Review which apps are using the VPN and which aren't. These aren't one-time configurations. Networks change, apps update, and operating systems introduce new behaviors that can undermine your previous settings.
Your VPN is only as good as your weakest configuration point. Nobody finds those weak points until something goes wrong.
This whole setup process takes about 20 minutes if you do it right. Spend them now or spend hours later wondering why you got hacked.
Set a phone reminder to retest your DNS leaks monthly. Apps update, OS updates, and settings get reset. I check mine every time my phone updates iOS.
If you run into issues, r/VPN on Reddit is actually useful. The privacy community on there will help you troubleshoot without the marketing bullshit.

